← Images / images / optimization
Features
Cloudflare enables developers to optimize images at scale by dynamically generating different versions in real time.
The guide describes all of the parameters that can be used to resize, crop, manipulate, and apply visual effects to images.
How to apply optimization
Use Cloudflare's image optimization capabilities through:
- URL interface — Apply parameters directly in the image URL to specify how images should be optimized when served to the browser.
- Workers — Bind the Images API directly to your Worker or set the
cf.imageoptions on afetchsubrequest to build programmatic image workflows.
URL interface
Cloudflare uses a different URL structure depending on whether you are optimizing a remote or a hosted image:
When optimizing images outside of Images, the default transformation URL uses the following structure:
https://<ZONE>/cdn-cgi/image/<OPTIONS>/<SOURCE-IMAGE>URL breakdown
| Part | Description |
|---|---|
<ZONE> |
Your domain name at Cloudflare. Transformations can be requested on every Cloudflare zone that has transformations enabled. |
/cdn-cgi/image/ |
A fixed prefix that identifies that this path is a request to optimize an image. To hide this part, you can set up Transform Rules to serve images from a custom path. |
<OPTIONS> |
A list of optimization parameters, separated by a comma. A valid URL must specify at least one parameter. |
<SOURCE-IMAGE> |
The original image that you want to transform. You can use an absolute path on the origin server or an absolute URL (that starts with https:// or http://). |
For images stored in Cloudflare Images, use the delivery URL with a variant or custom options:
https://imagedelivery.net/<ACCOUNT_HASH>/<IMAGE-ID>/<VARIANT-OR-OPTIONS>URL breakdown
| Part | Description |
|---|---|
imagedelivery.net |
A shared, Cloudflare-owned domain for optimizing images that are hosted in Images. As an alternative, you can also serve images from your own domain. |
<ACCOUNT_HASH> |
A unique identifier for your Cloudflare account. You can find your account hash in the Cloudflare dashboard ↗ under Images > Developer Resources. |
<IMAGE-ID> |
The unique identifier for a hosted image. When you upload to Images, Cloudflare automatically generates an image ID. You can also set a custom ID to use your own path structure. |
<VARIANT-OR-OPTIONS> |
Here, you can specify a predefined variant or a list of optimization parameters, separated by a comma. A valid URL must specify either a variant or at least one parameter. |
Workers
When using Images with Workers, you can:
- Apply custom logic to set the order for optimization operations. For example, by default, Images will apply
flipbeforerotate; instead, you can use the Images binding to customize your optimization workflow to rotate the image before flipping it. - Use a custom URL scheme instead of the default URL structure.
- Implement content negotiation to dynamically adapt image size, format, and quality based on the device and network condition.
Parameters
anim
Specifies whether to preserve animation frames from input files.
true(default) — Outputs the animated image with all frames.false— Converts the first frame of an animated input to a still image.
This setting is recommended when enlarging images or processing arbitrary user-uploaded content, as animated GIFs can have large file sizes and increase page load times. When using format=json, it is also useful to set anim=false to get a quicker response without the number of frames.
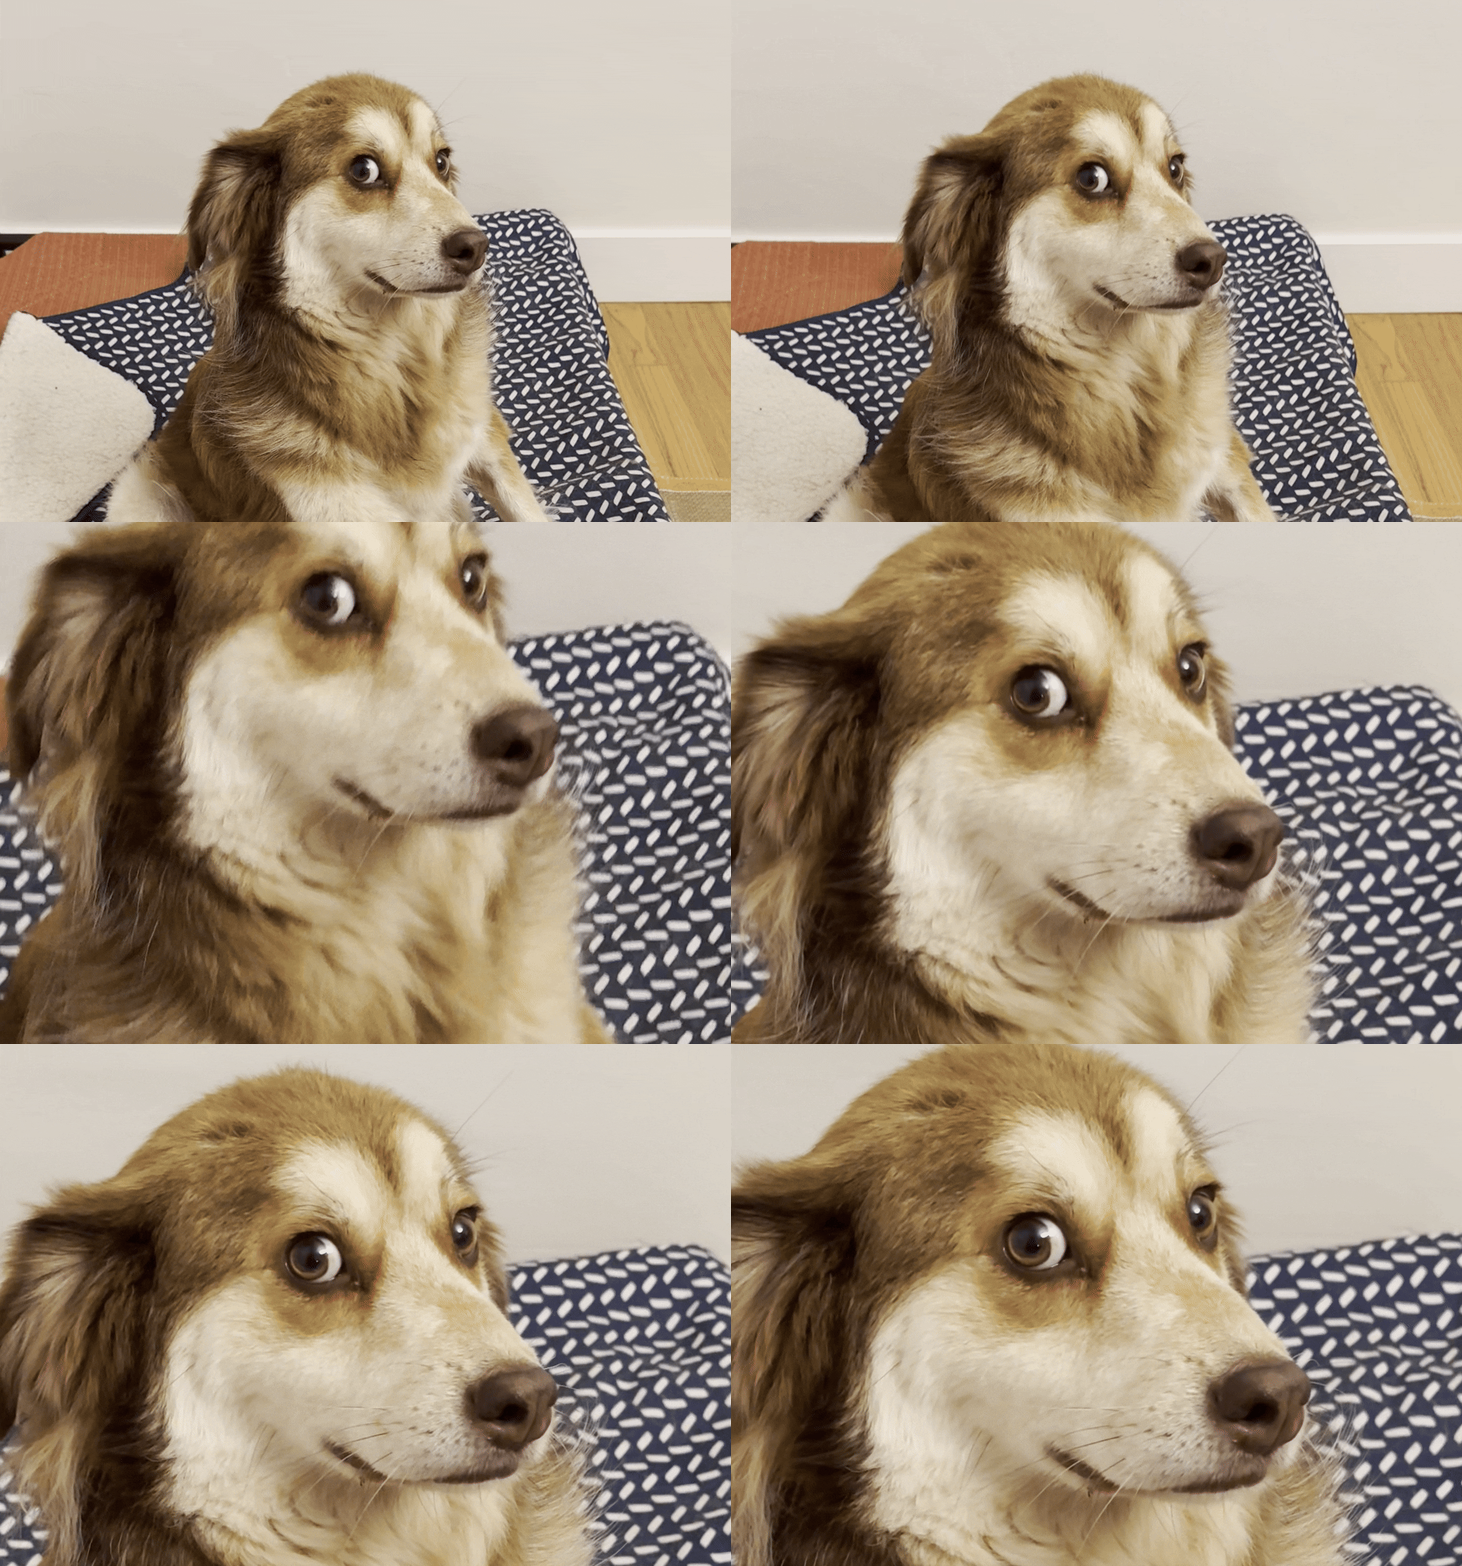 | 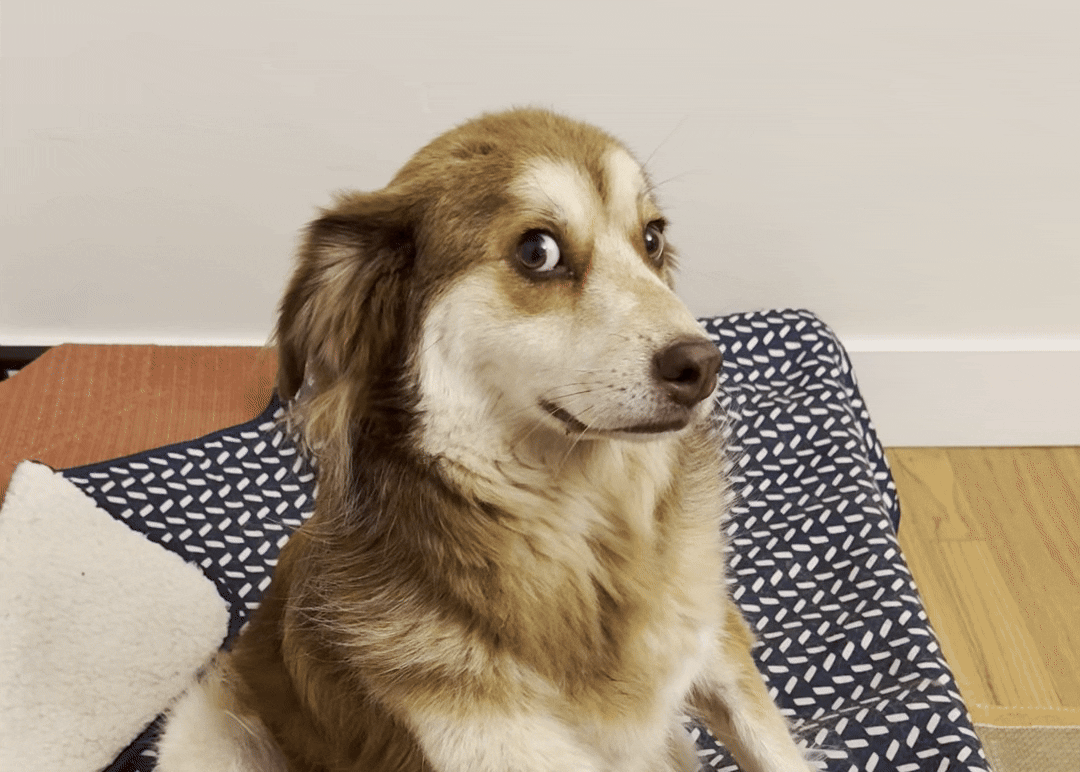 |
| Original | anim=false |
anim=falsecf: {image: {anim: false}}background
Specifies an opaque or transparent color to fill blank or transparent pixels in the image. The default is %23FFFFFF (white).
Accepts the following properties:
- A HEX color code, formatted as
%23RRGGBB. - A CSS color name, e.g.
whiteorred. - An
rgb()orrgba()CSS color function, e.g.rgba(250,40,145,0.5).
The background color is visible in images with transparent pixels, including images that are resized with fit=pad.
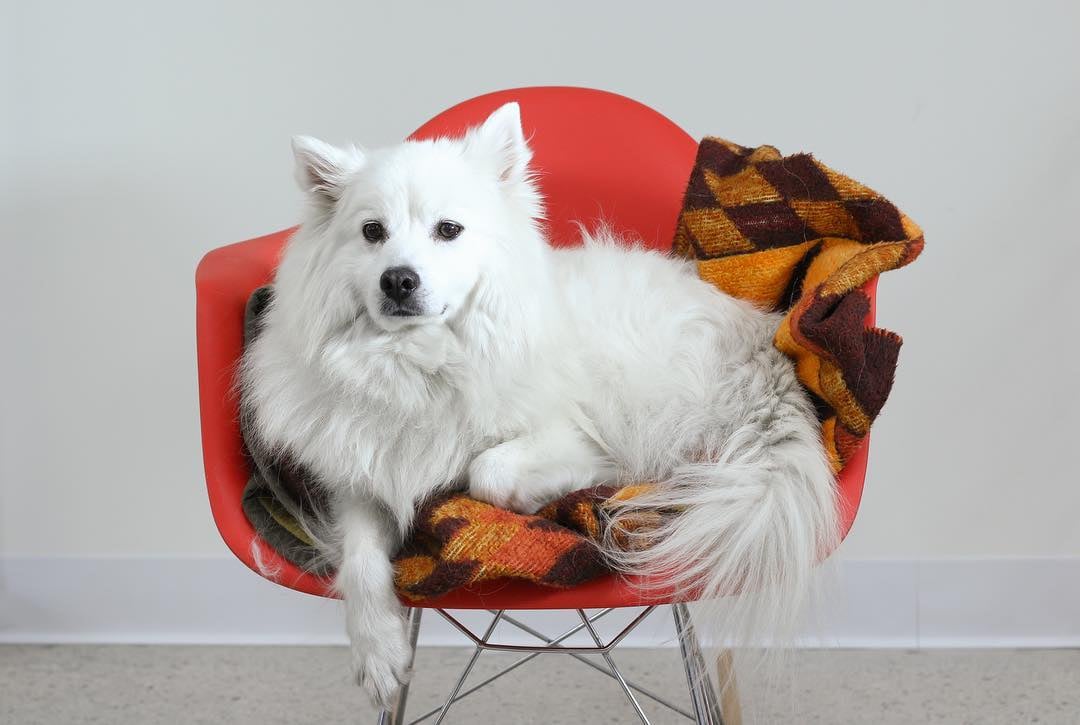 | 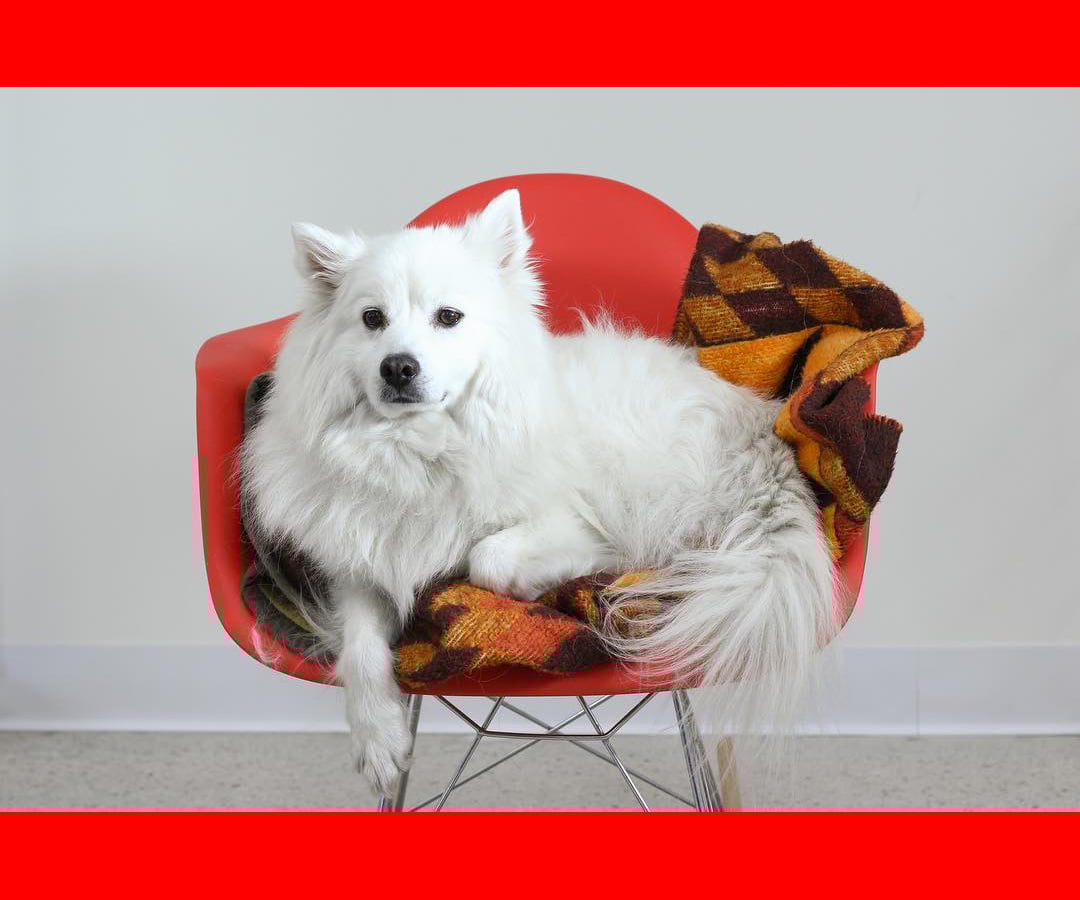 |
Original | Output |
background=%23ff0000
background=red
background=rgb%28240%2C40%2C145%29
cf: {image: {background: "#RRGGBB"}}
cf: {image: {background: "rgba(240,40,145,0)"}}blur
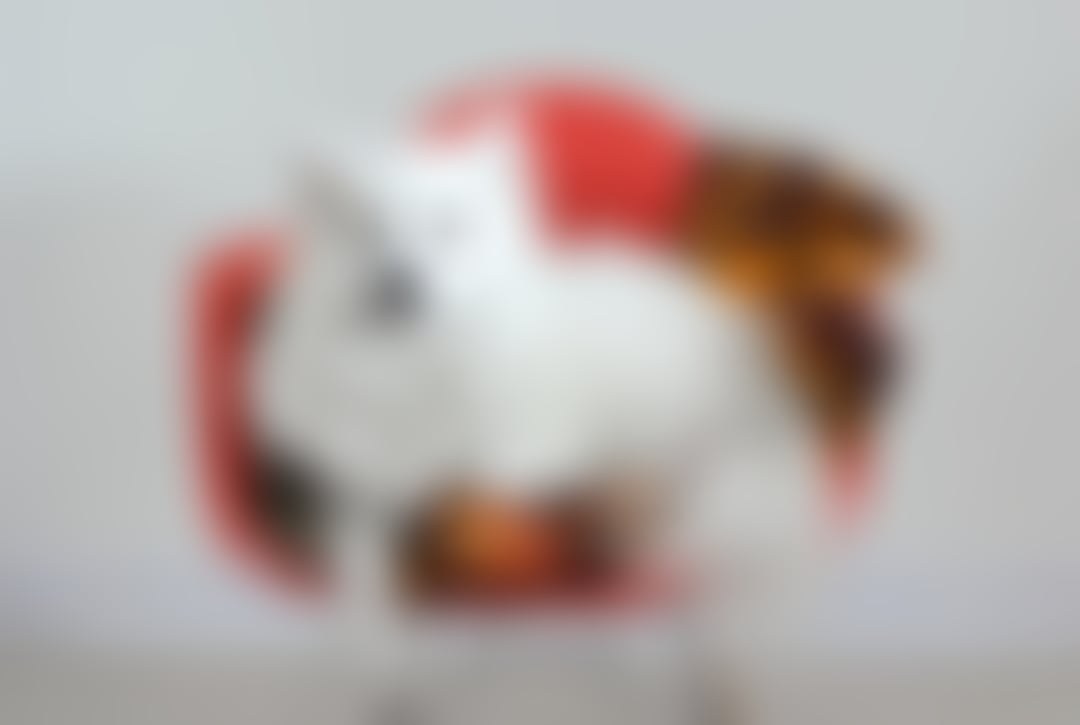
Applies a blur radius to the image. Accepts an integer from 0 (no blur) to 250 (maximum blur). The default is 0.
This parameter should not be used to reliably obscure image content when optimizing via URL, as the URL can be modified to remove the blur parameter. Instead, you can restrict access to the original image through Workers.
|  |
| Original | blur=50 |
blur=50cf: {image: {blur: 50}}border
Adds a border around the image.
Accepts the following properties:
color— Sets the color of the border. Accepts any valid CSS color value, for example#FF0000,rgb(0,0,0), orred.width— Sets the uniform border, in pixels, on all four sides.top,right,bottom,left— Sets the border width, in pixels, for individual sides.
The border is applied after the image has been resized. The border width automatically scales with the dpr parameter to ensure sharpness on high-resolution screens.
cf: {image: {border: {color: "rgb(0,0,0,0)", top: 5, right: 10, bottom: 5, left: 10}}}
cf: {image: {border: {color: "#FFFFFF", width: 10}}}
brightness
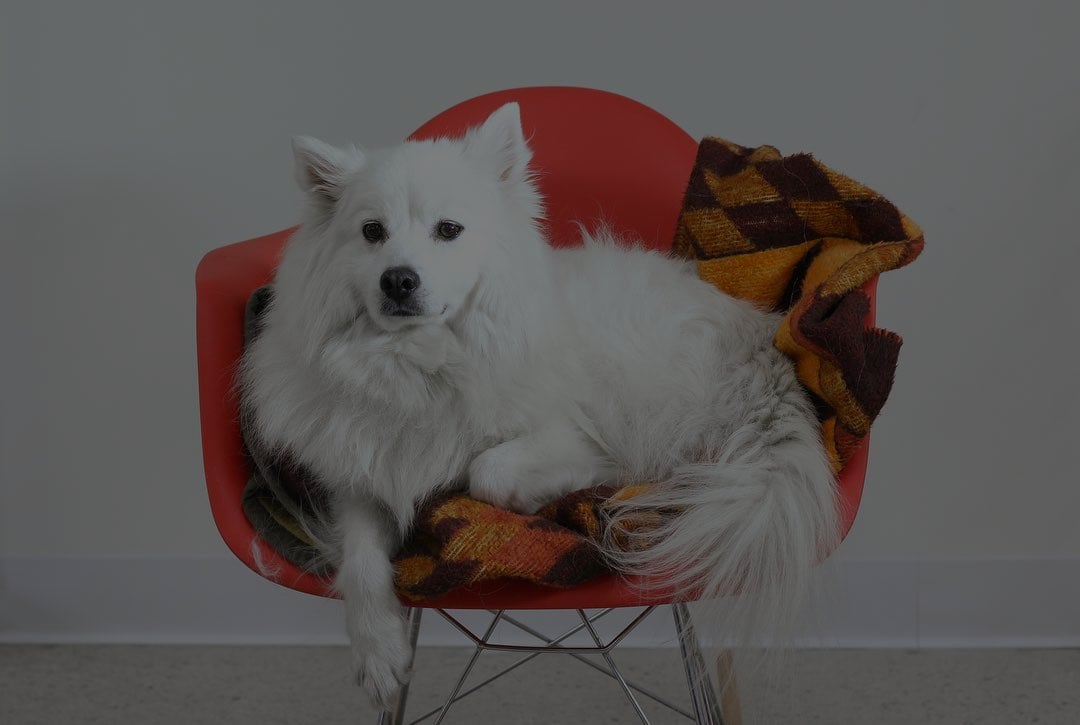
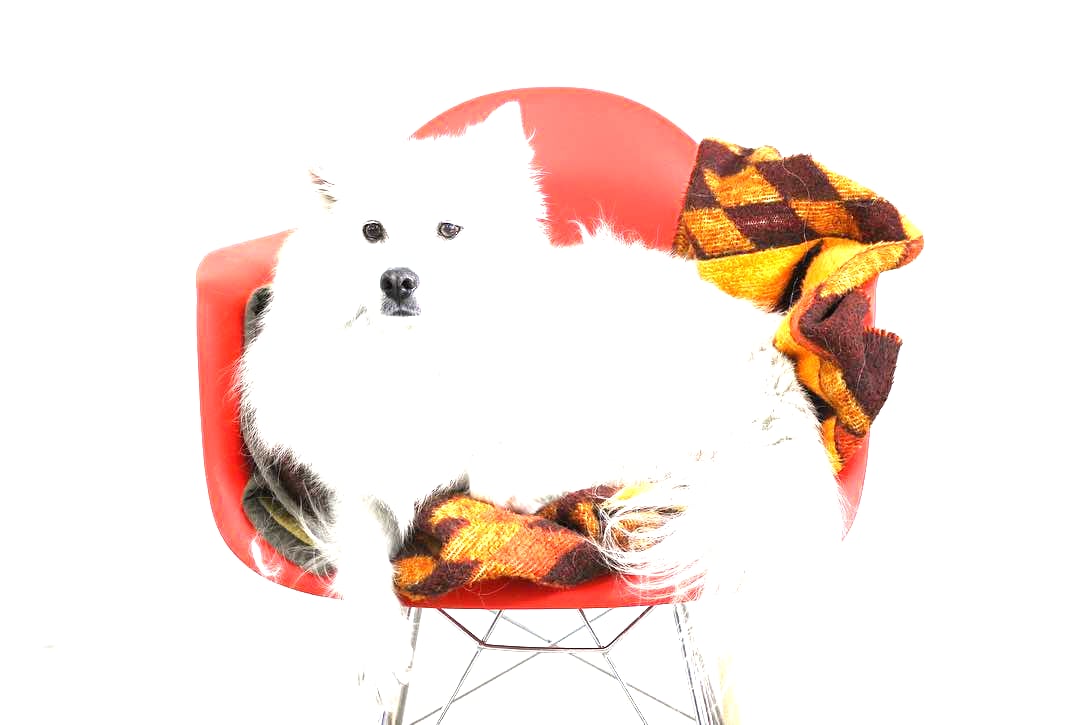
Adjusts the image's overall luminance using a multiplier.
1(default) — No change to the original brightness.< 1.0— Darkens the image, e.g.0.5is half as bright.> 1.0— Lightens the image, e.g.2is twice as bright.
|  |  |
| Original | brightness=0.5 | brightness=2 |
brightness=0.5cf: {image: {brightness: 0.5}}compression
Selects the output format that is quickest to compress. Accepts fast. The default is none.
The compression=fast option prioritizes encoding speed over output quality and file size, and will usually override the format parameter to choose JPEG over more efficient formats like AVIF or WebP. This slightly reduces latency on a cache miss, but may result in increased file size and lower image quality.
This option is not recommended, except in unusual circumstances like resizing uncacheable, dynamically-generated images.
compression=fastcf: {image: {compression: "fast"}}contrast
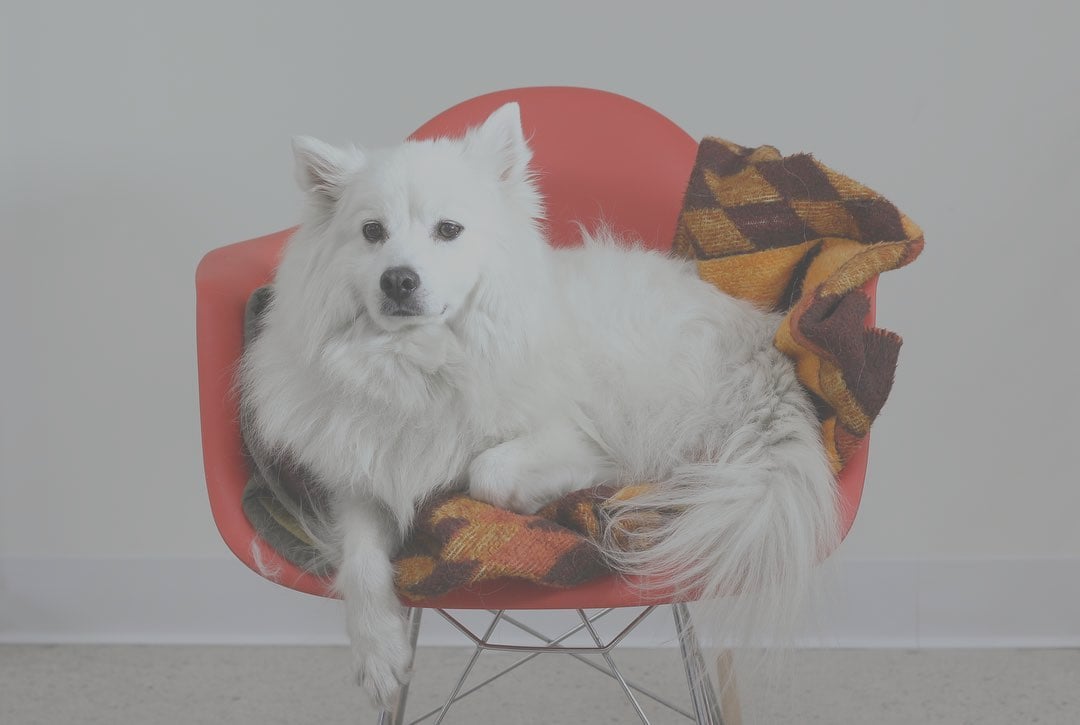
Adjusts the image's overall difference between the darkest and lightest parts using a multiplier.
1(default) — No change to the original contrast.< 1.0— Decreases contrast, which makes shadows lighter and highlights darker.> 1.0— Increases contrast, which pushes shadows toward black and highlights toward white.
|  | 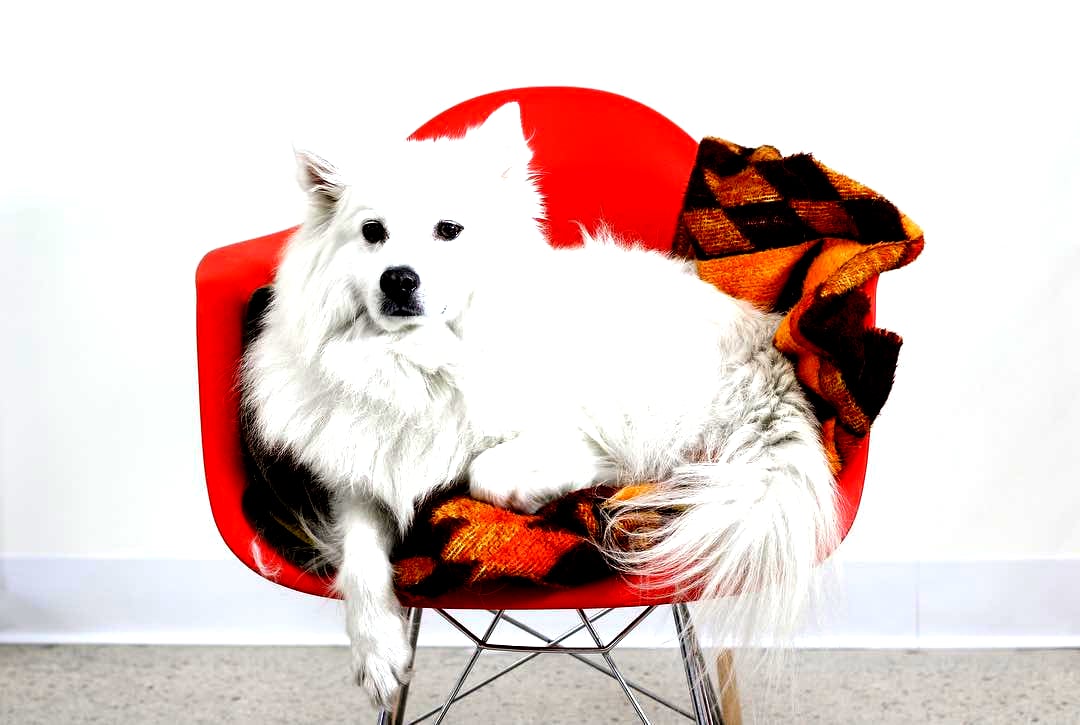 |
| Original | contrast=0.5 | contrast=2 |
contrast=0.5cf: {image: {contrast: 0.5}}dpr
Scales the output resolution by a multiplier to match a user's specific screen density (for example, Retina or 4K). The default is 1, which delivers the image at the exact width and height requested. The maximum supported value is 2.
Modern devices have more physical pixels than CSS pixels. If you serve a 300px image in a 300px container on a high-DPR smartphone, then it will look blurry. Using dpr=2 tells Cloudflare to send a 600px image for the same 300px container, which results in a clearer, crisper image.
The dpr parameter can be used with srcset to serve responsive images.
 | 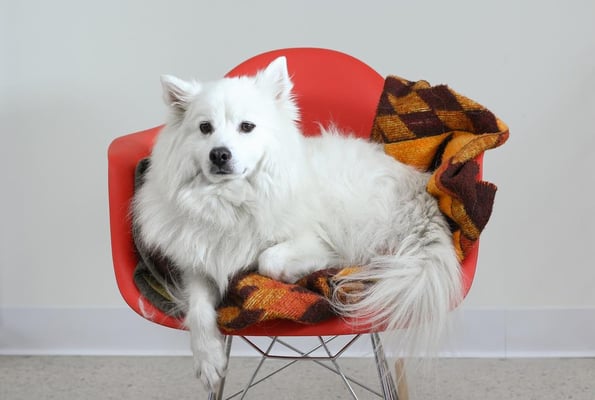 |
width=300,height=200,dpr=1 | width=300,height=200,dpr=2 |
dpr=1cf: {image: {dpr: 1}}fit
Specifies how the image is fit to the target area.
Fit is performed after setting the width and height dimensions of the image.
| Option | Result | Match original aspect ratio | Upscales |
|---|---|---|---|
scale-down (default) |
Show entire image without cropping or upscaling | Yes | No |
contain |
Show entire image without cropping | Yes | Yes |
cover |
Fill the entire requested area, cropping if needed | No | Yes |
crop |
Fill the entire requested area, but never upscales | No | No |
aspect-crop |
Crop to match the target aspect ratio, but never upscales | No | No |
pad |
Fit within the target area, adding space for remaining area | Yes | Yes |
squeeze |
Scale to exact dimensions, distorting if needed | No | Yes |
scale-up |
Upscales while showing the entire image, but never downscales | Yes | Yes |
fit=padcf: {image: {fit: "pad"}}scale-down
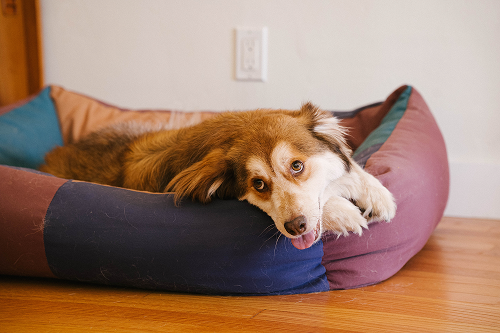
Resizes the image to fit within the specified dimensions while preserving its original aspect ratio, but never upscales the image. This is the default fit behavior.
When the original image is smaller than the target area, it is returned at its original dimensions. For example, a request to serve a 1080x720 image at 2000x2000 will return the image at 1080x720.
When larger, it downscales the image to fit the target area while matching the original aspect ratio.
In the example below, the 1080x720 image is resized to fit within the target 500x500 area. Since scale-down preserves the original aspect ratio (3:2), the final dimensions of the output image are 500x333.
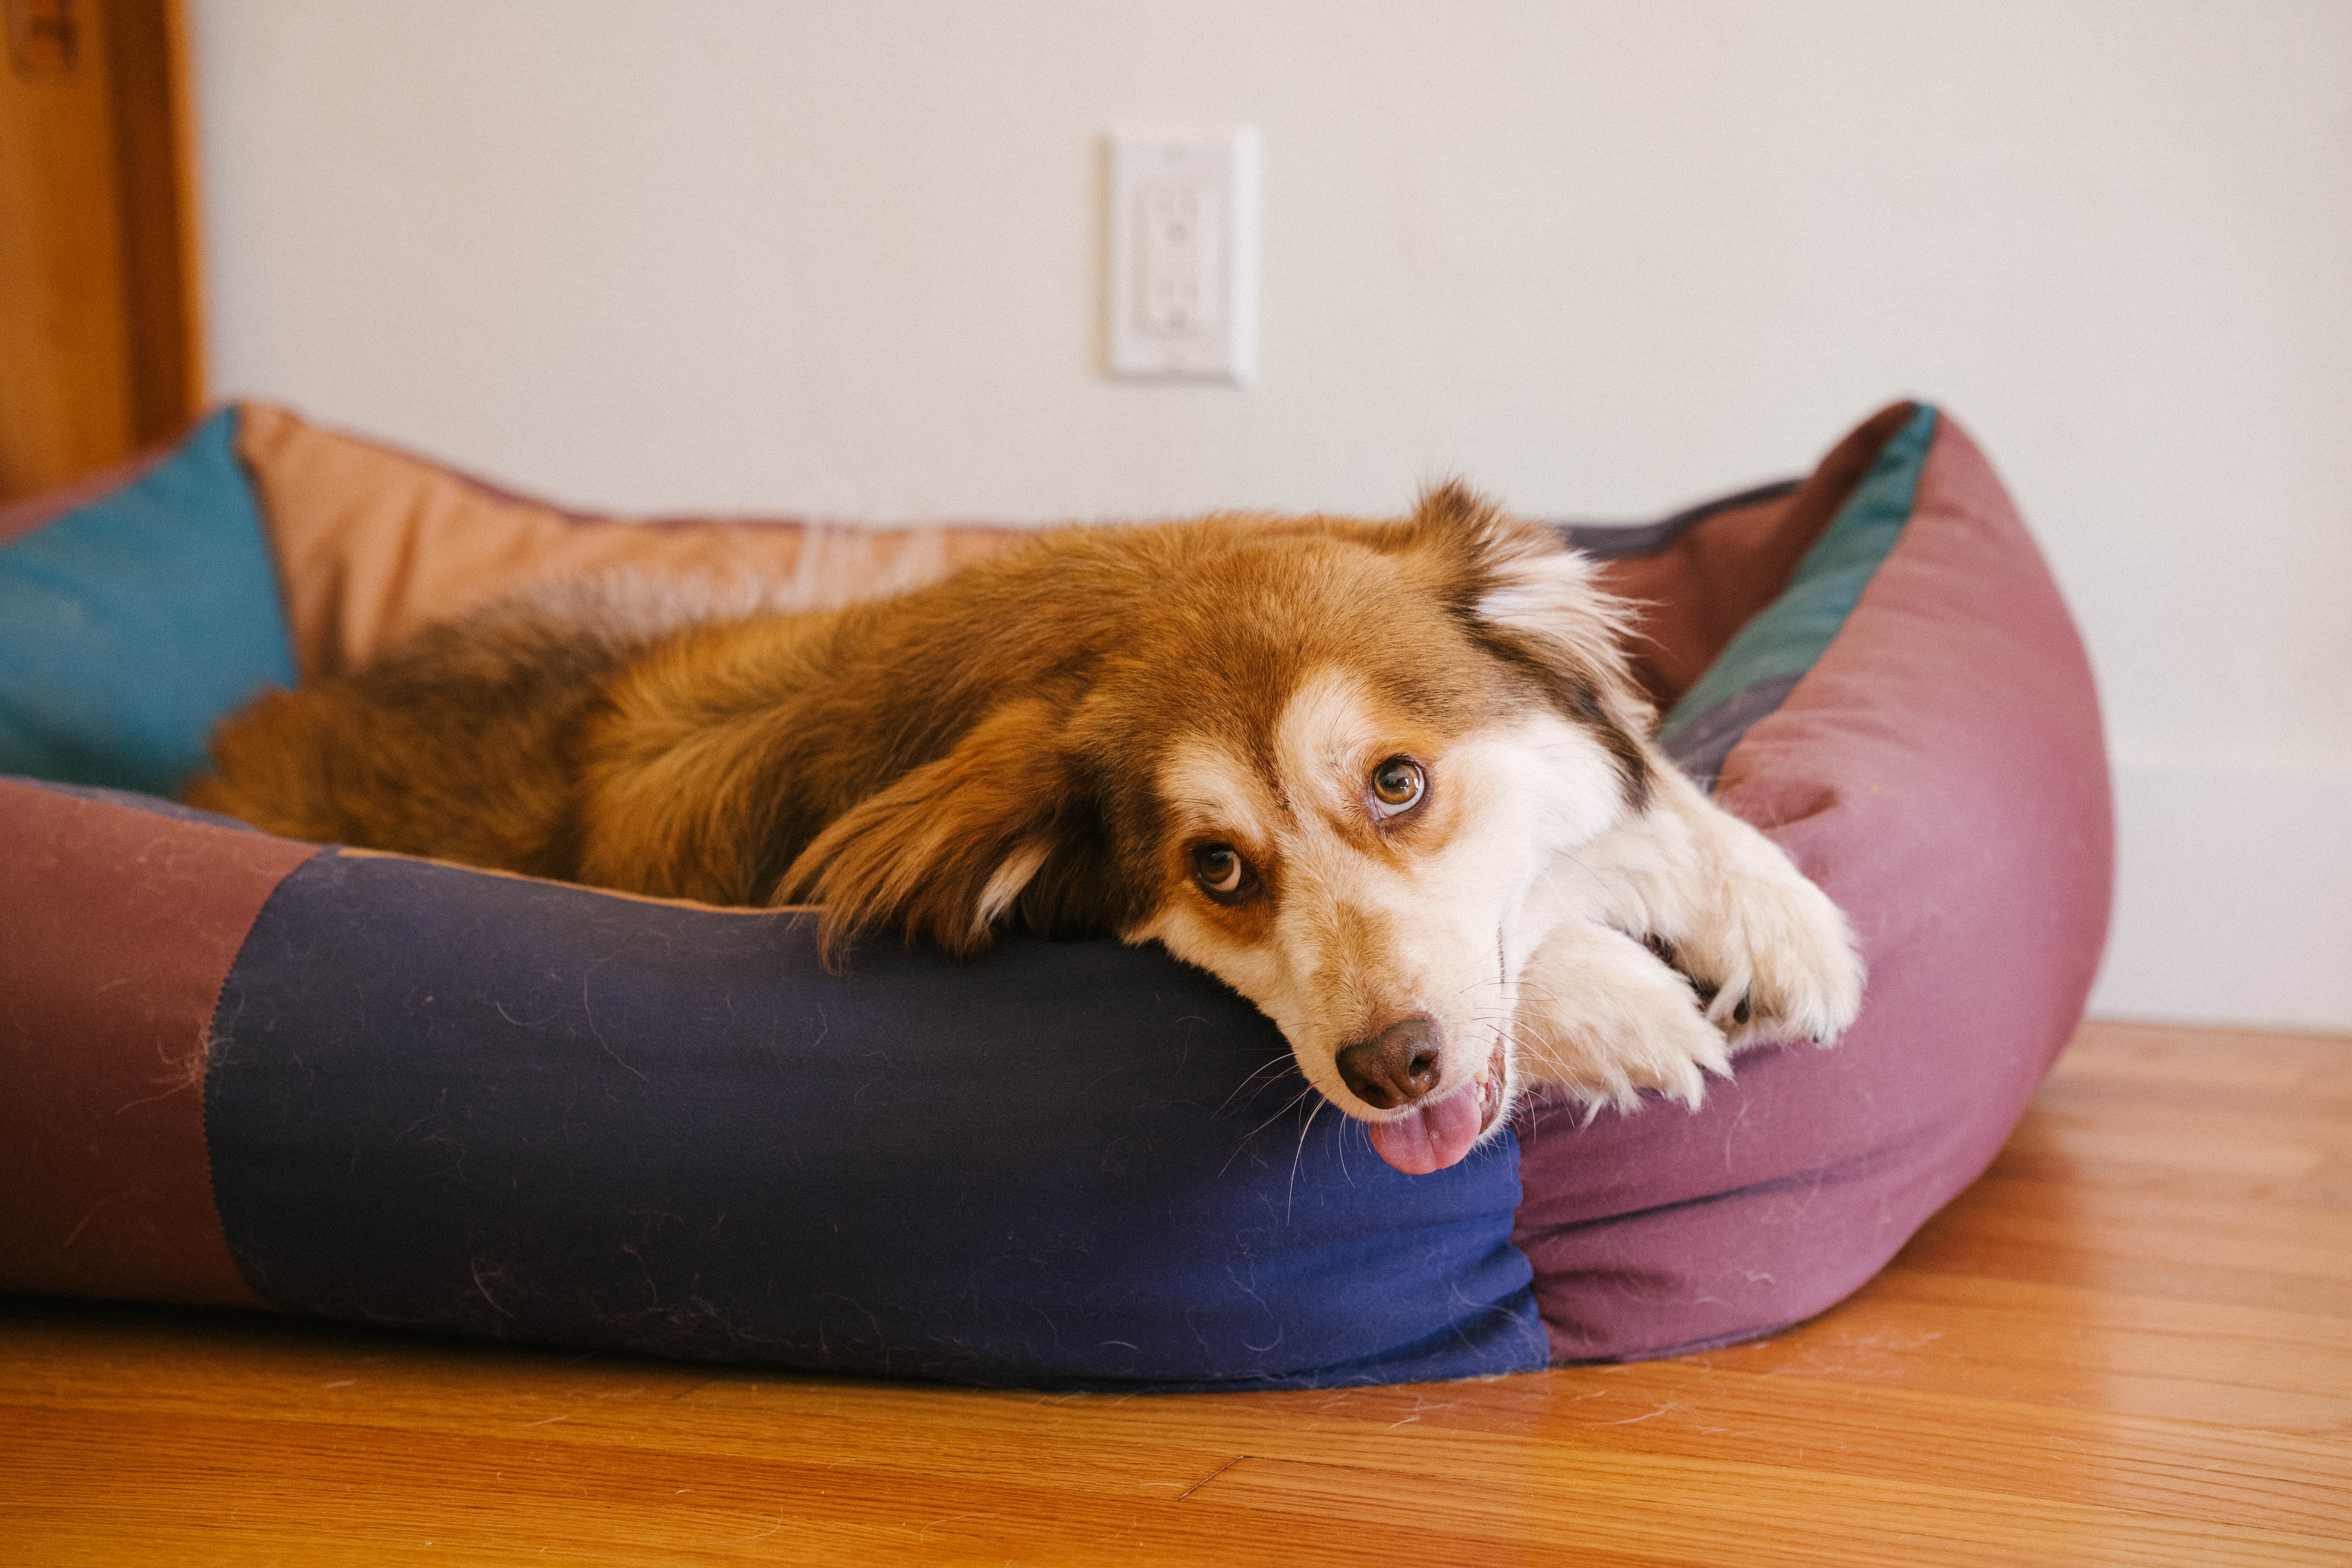 |  |  |
Original | Requested | Output |
contain
Resizes the image to be as large as possible within the target width and height dimensions while preserving its original aspect ratio.
When the original image is larger than the target area, it downscales to fit the target area (like scale-down).
When smaller, it upscales instead (like scale-up). Works with the upscale parameter to control the algorithm for enlarging an image. To avoid upscaling, use scale-down.
cover
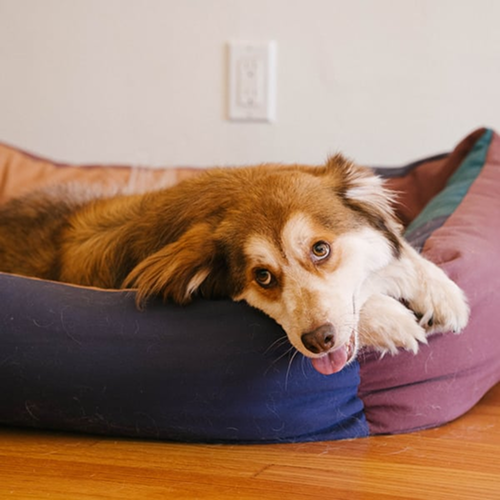
Fills the entire target area, shrinking or enlarging the image if needed. The output area always matches the requested width and height dimensions exactly.
When the original and target aspect ratios differ, the image is resized to cover the full target area and any overflow is cropped. Use the gravity parameter to control which part of the image is preserved during cropping.
Works with the upscale parameter to control the algorithm for enlarging an image.
In the example below, the 1080×720 image is first resized to 750×500 (matching the requested height) to fit the target area, then cropped from the left and right edges to its final 500x500 dimensions.
| |  |
Original | Requested | Output |
When the original image is smaller than the target area, it upscales instead. To avoid upscaling, use crop.
crop
Resizes the image to fill the target area without upscaling.
When the original image is smaller than the target area, it keeps its original size and aspect ratio (like scale-down).
In the example below, the original image (1080x720) is smaller than the target area (1296x1296), so it preserves its original size and aspect ratio.
| | |
Original | Requested | Output |
When the original image is larger than the target area, it behaves like cover (fills the target area and crops the rest) instead.
aspect-crop
Crops the image to match the target aspect ratio, scaling down if needed but never upscaling.
When the original image is larger than the target area, it downscales to the smallest size that still fills the target dimensions, then is cropped to match the target aspect ratio (like cover).
When the original image is smaller than the target area, it keeps its original size but is cropped to match the target aspect ratio. Unlike crop, which preserves the original size and dimensions of smaller images, aspect-crop always enforces the target aspect ratio.
For example, a 612x613 image requested at 1920x1120 will not be upscaled. Instead, it stays at its original size and is cropped to 612x357, matching the 1920:1120 aspect ratio. Use the gravity parameter to control which part of the image is preserved during cropping.
pad
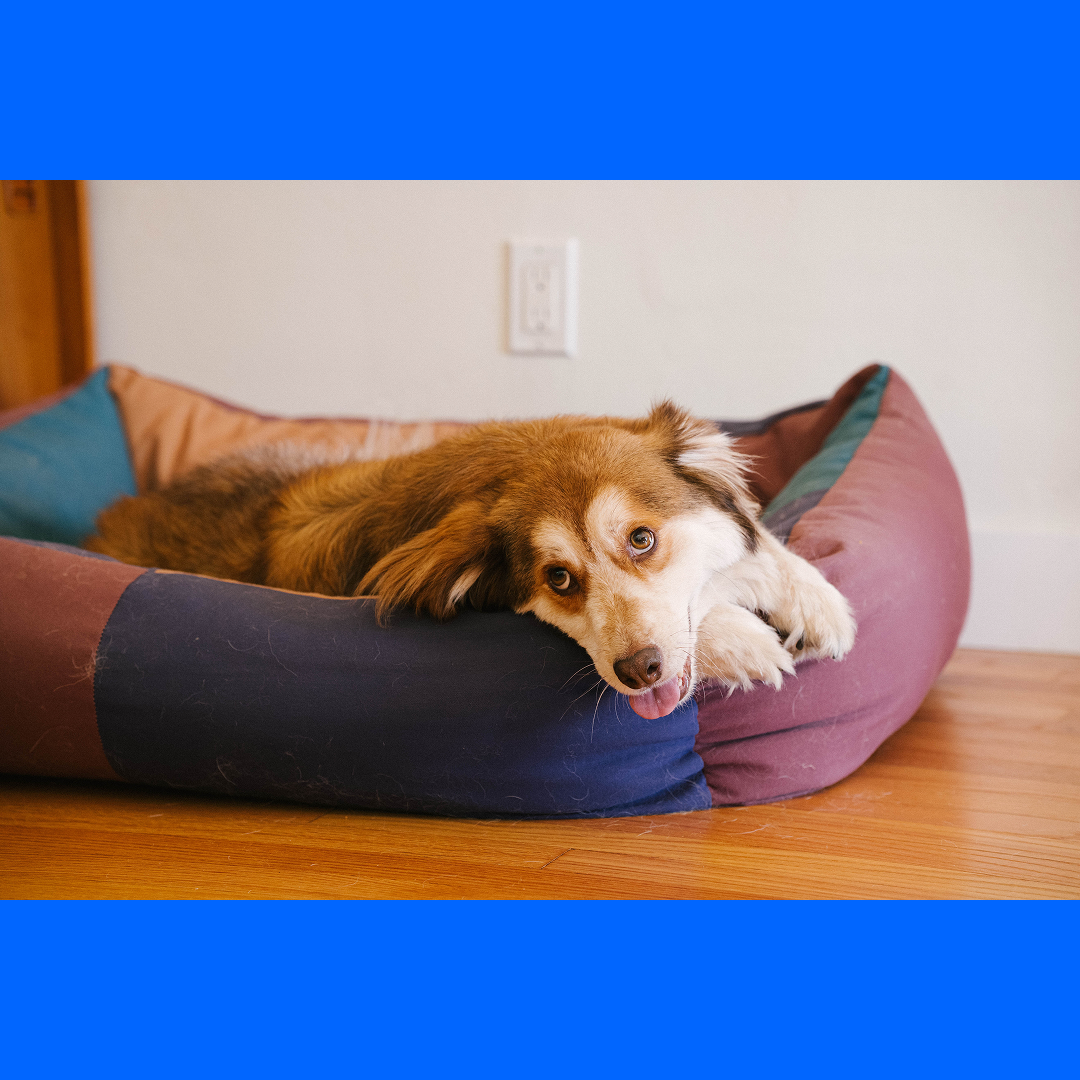
Resizes the image to be as large as possible within the dimensions. If applicable, the output area will be expanded to match the width and height dimensions exactly.
Works with the background parameter to fill any blank or transparent pixels. However, for web apps, you can often achieve the same visual result using the contain option with the CSS object-fit: contain property, which avoids encoding padding pixels into the image itself.
In the example below, the original image (1080x720) is smaller than the target area (1080x1080), so it creates space for the remaining pixels.
| |  |
Original | Requested | Output |
squeeze
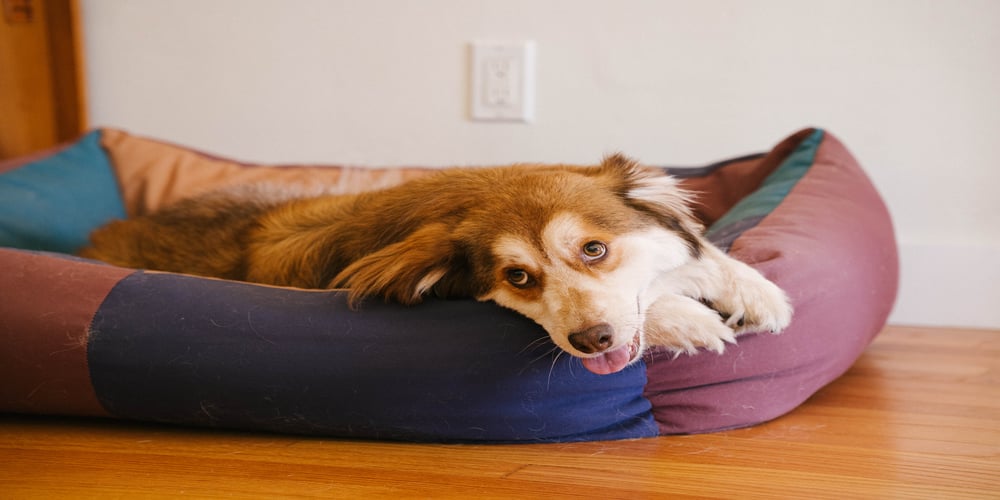
Resizes the image to exactly match the requested width and height, without cropping the edges or constraining the portions.
When the original and target aspect ratios differ, the image will be distorted to fit the target area.
|  |
Original | Output |
 |  |
Original | Output |
scale-up
Resizes the image to fit within the specified dimensions while preserving its original aspect ratio, but never downscales the image. This is the inverse of scale-down.
When the original image is larger than the target area, it is returned at its original dimensions.
When the original image is smaller than the target area, it is enlarged to fit within the target dimensions. Use the upscale parameter to control the algorithm used for upscaling images — set upscale=generate for AI-powered upscaling or upscale=interpolate (default) for bicubic interpolation.
flip
Flips the image horizontally, vertically, or both.
Accepts the following values:
h— Flips the image horizontally.v— Flips the image vertically.hv— Flips the image both horizontally and vertically.
Flip can be used with the rotate parameter to set the orientation of the image. Flip is performed before rotation. For example, if you apply flip=h,rotate=90, then the image will be flipped horizontally, then rotated by 90 degrees.
| 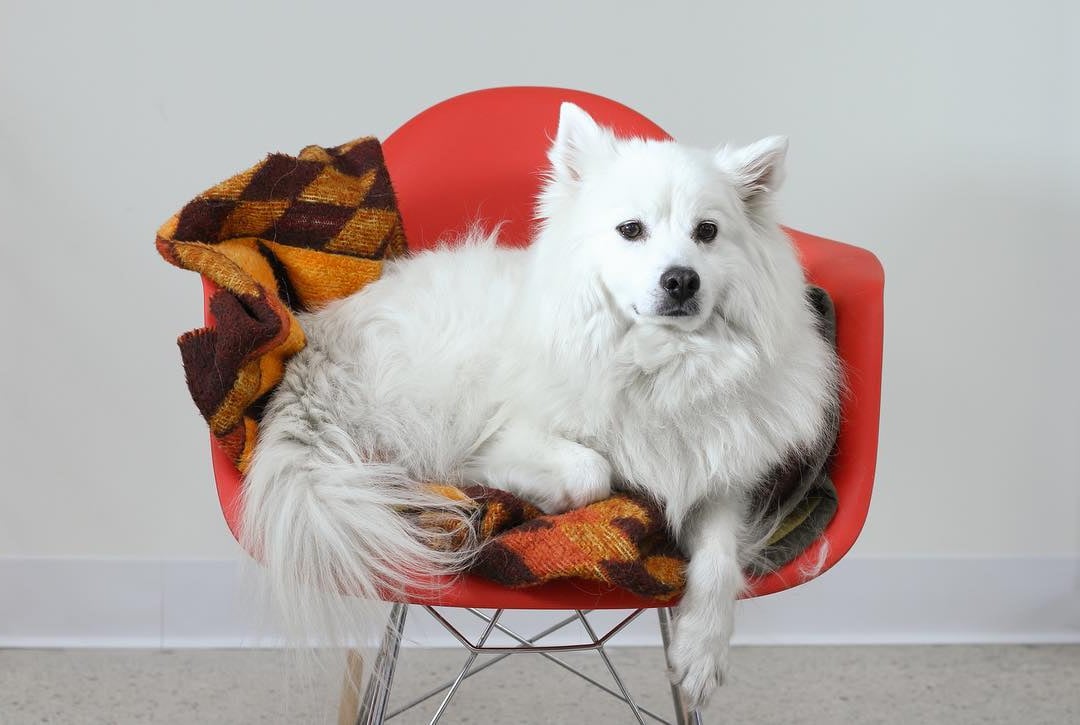 | 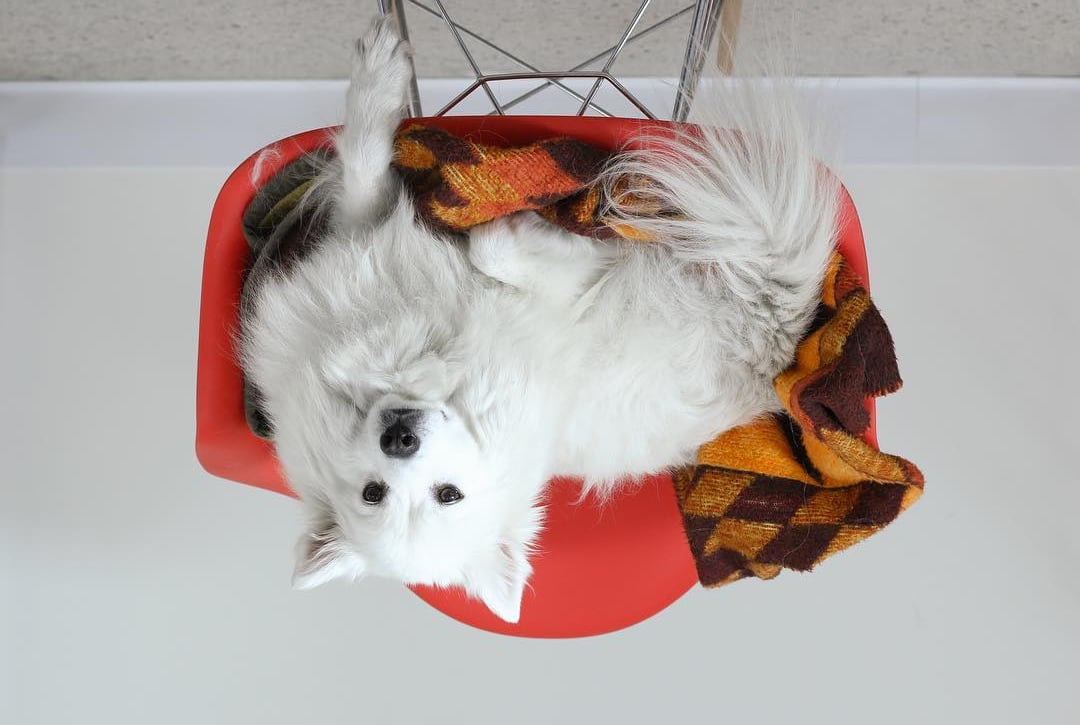 |
| Original | flip=h | flip=v |
flip=hcf: {image: {flip: "h"}}format | f
Specifies the output format for the image.
Accepts the following values:
auto— Automatically serves the most efficient format that the requesting browser supports. When you serve a hosted image, this is the defaultformatoption.avif— Transcodes the image to AVIF, if possible. AVIF encoding can be an order of magnitude slower than encoding to other formats. If the image is too large to be quickly encoded to AVIF, then Cloudflare will fall back to WebP or JPEG.webp— Transcodes the image to Google WebP format. Usequality=100to return the WebP lossless format.jpeg— Transcodes the image in interlaced progressive JPEG format, in which data is compressed in multiple passes of progressively higher detail.baseline-jpeg— Transcode the image in baseline sequential JPEG format. It should be used in cases when target devices do not support progressive JPEG or other modern file formats.json— Outputs information about the image as a JSON object. This contains data such as image size (before and after resizing), the source image's MIME type, and file size.
format=auto
f=auto
cf: {image: {format: "avif"}}To use format=auto with a custom Worker, you need to parse the Accept header. Refer to this example Worker for a complete overview of how to set up an image transformation Worker.
const accept = request.headers.get("accept");
let image = {};

if (/image\/avif/.test(accept)) {
	image.format = "avif";
} else if (/image\/webp/.test(accept)) {
	image.format = "webp";
}

return fetch(url, { cf: { image } });
gamma
Adjusts the exposure of an image using a multiplier. Gamma controls the midtone brightness without affecting the darkest or lightest parts of the image.
0and1(default) — No change to the original gamma.< 1.0— Increases midtone brightness, making the image appear lighter overall.> 1.0— Decreases midtone brightness, making the image appear darker overall.
| 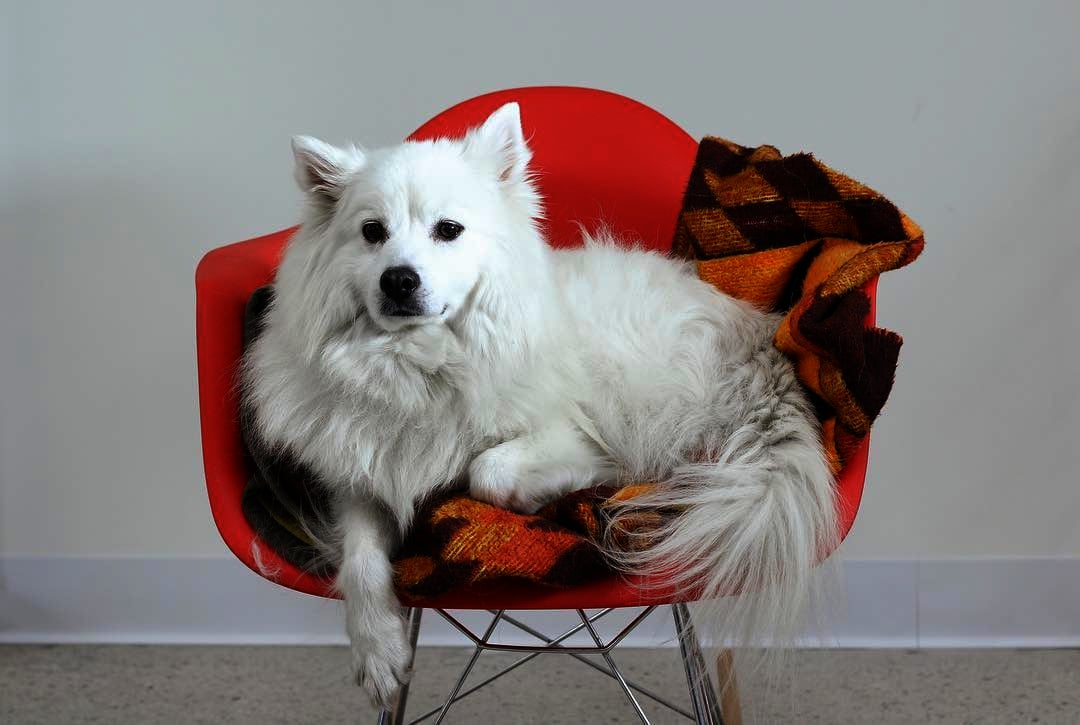 | 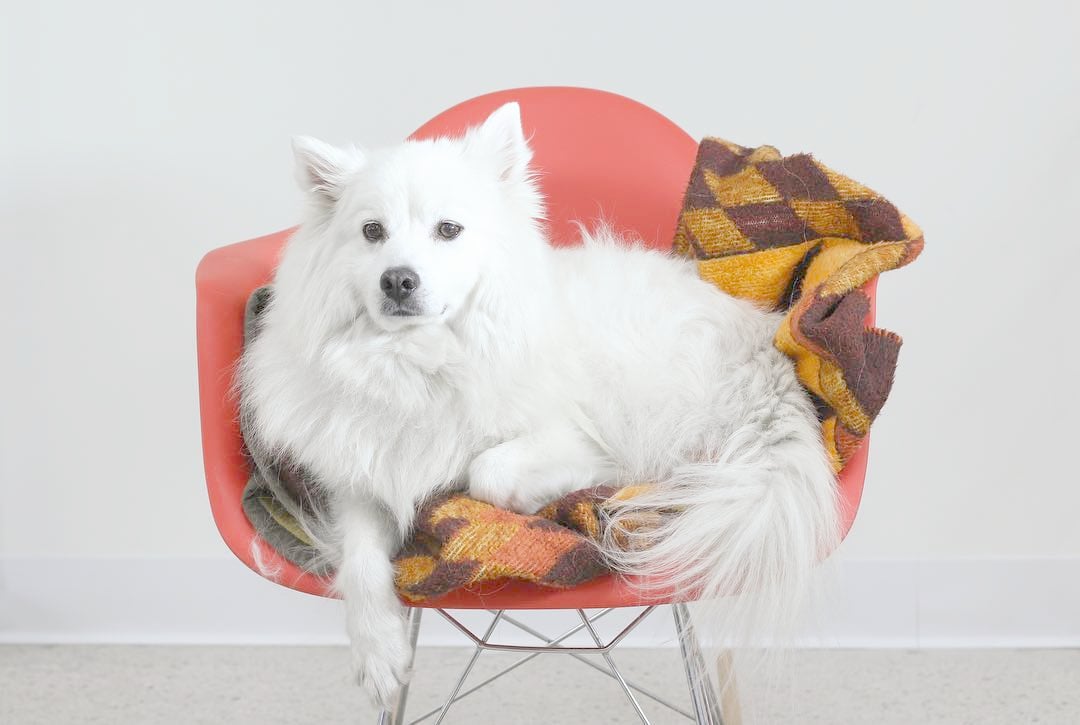 |
| Original | gamma=0.5 | gamma=2 |
gamma=0.5cf: {image: {gamma: 0.5}}gravity | g
Specifies how the image should be cropped when used with fit=cover and fit=crop. By default, Cloudflare will crop toward the center point of the original image.
Accepts auto, face, a side (left, right, top, bottom), and relative coordinates (XxY).
gravity=auto
g=auto
gravity=face
gravity=left
gravity=0.5x1
cf: {image: {gravity: "auto"}}
cf: {image: {gravity: "face"}}
cf: {image: {gravity: "left"}}
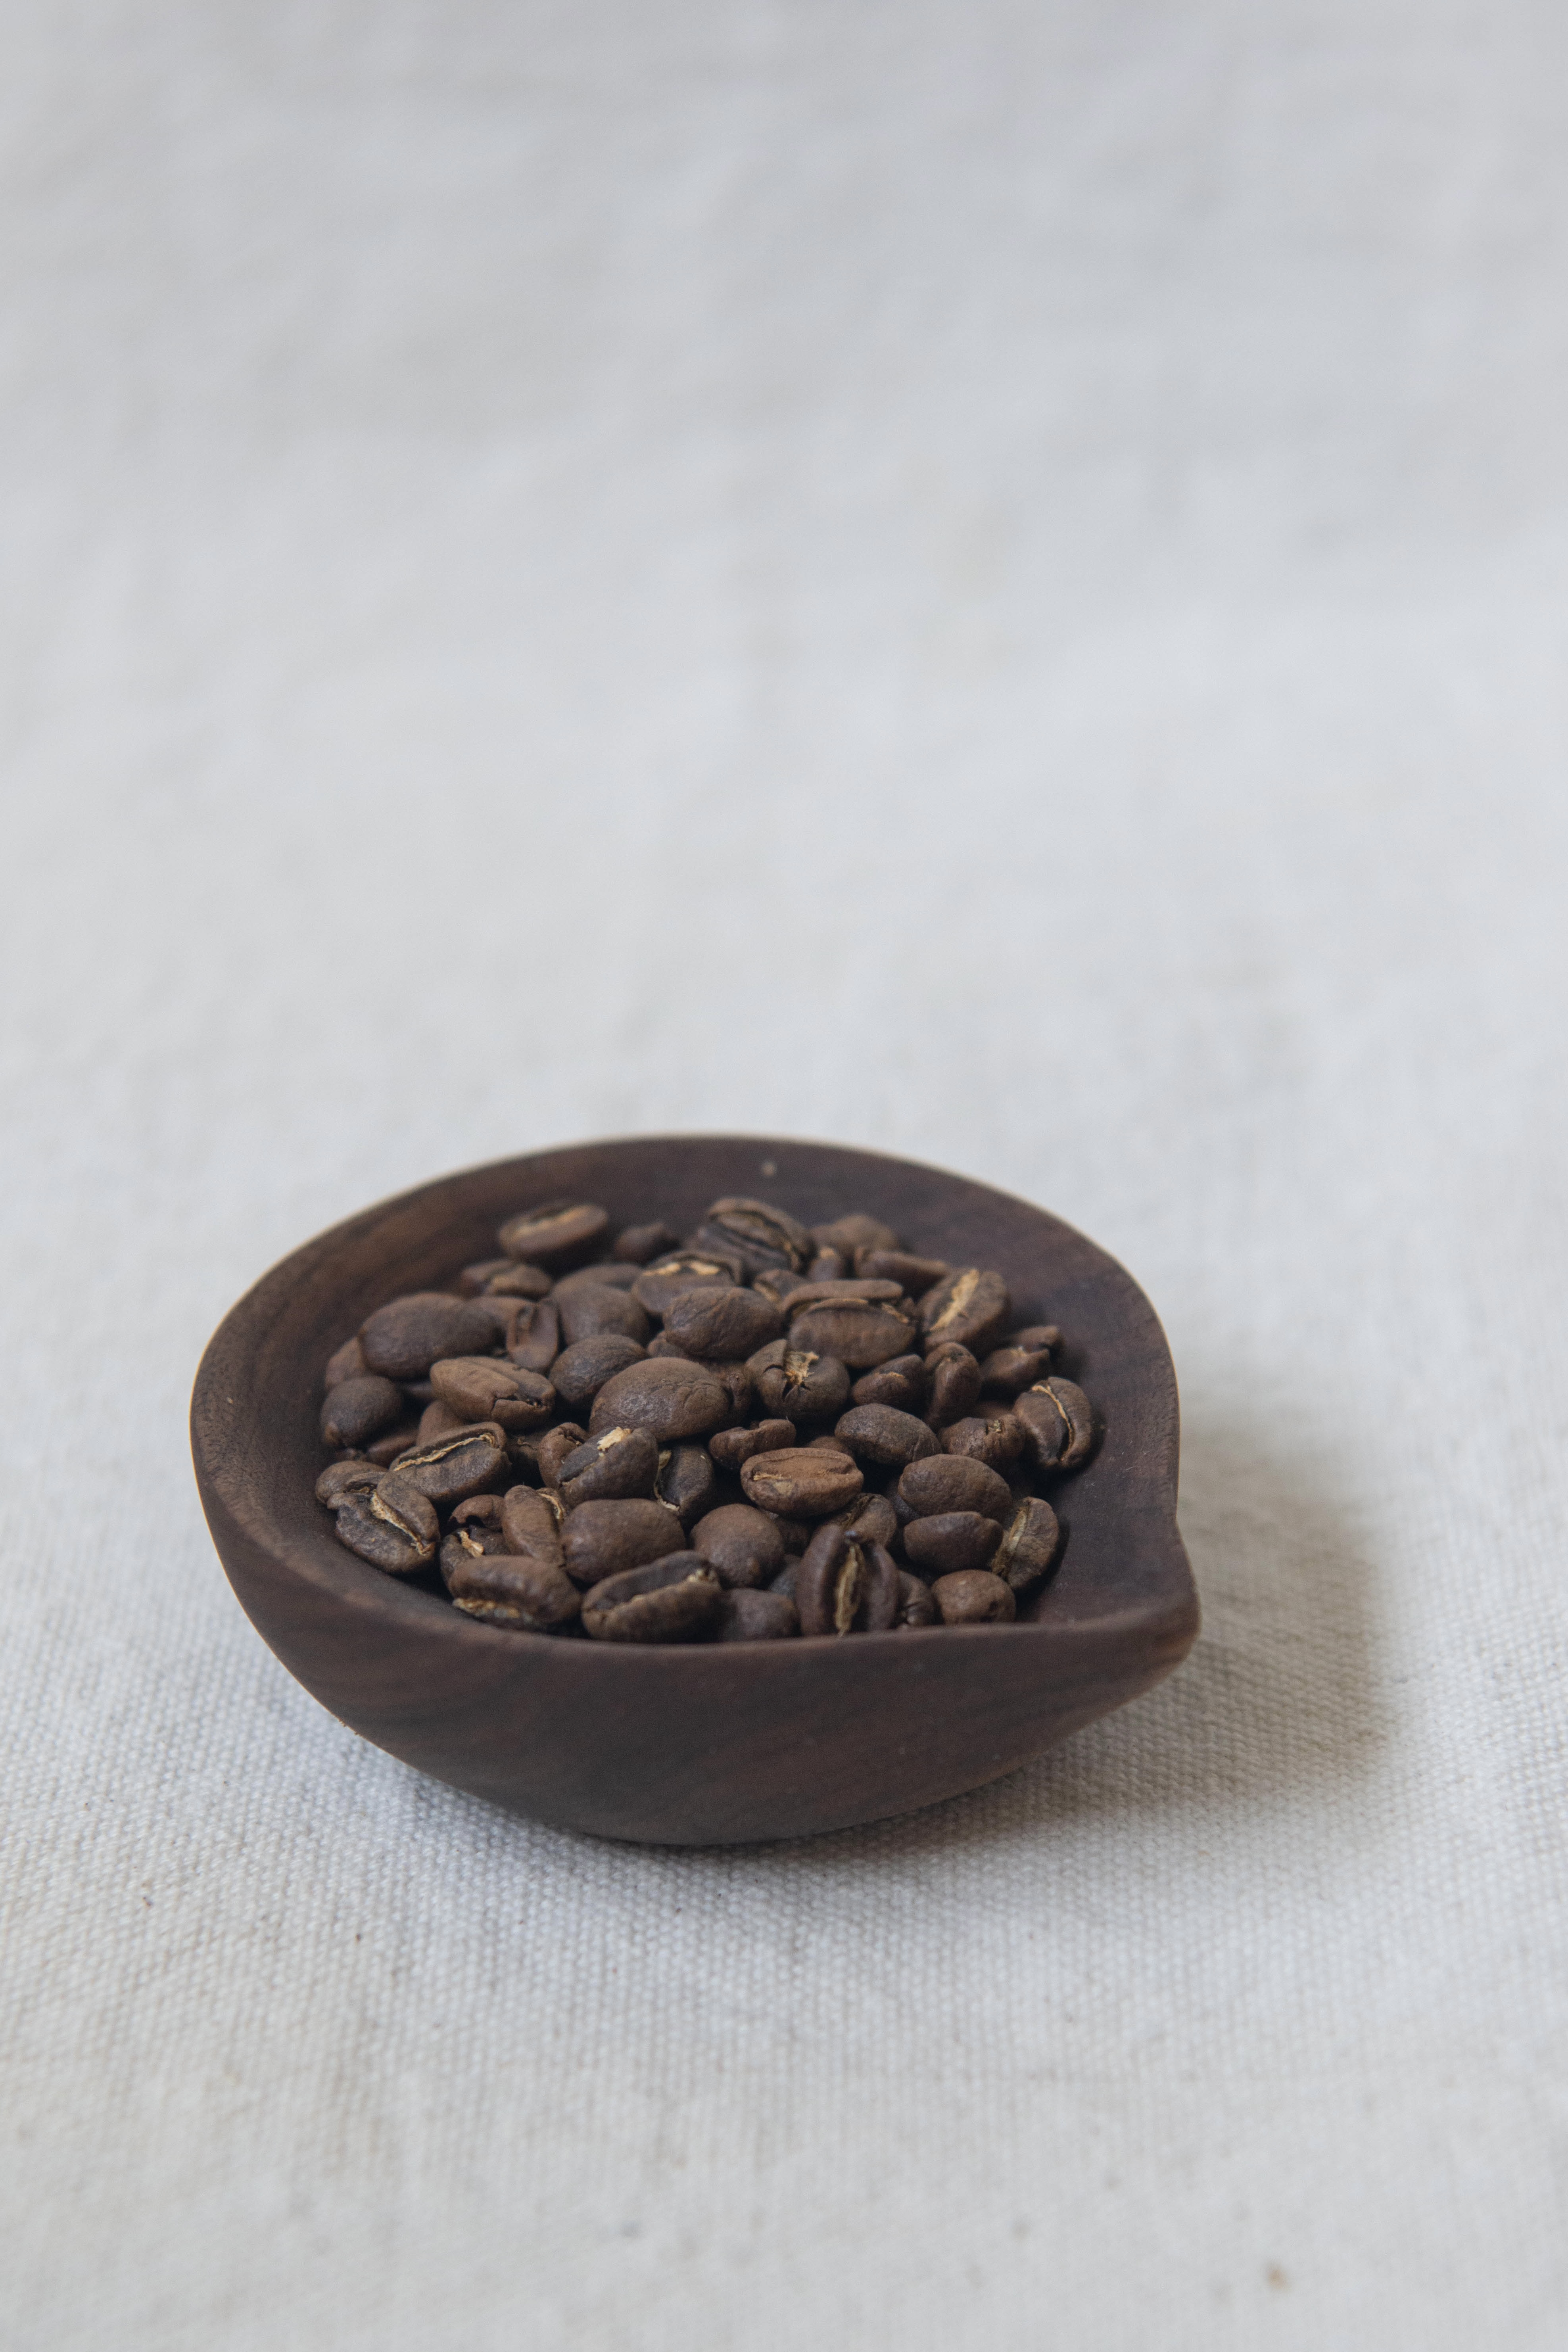
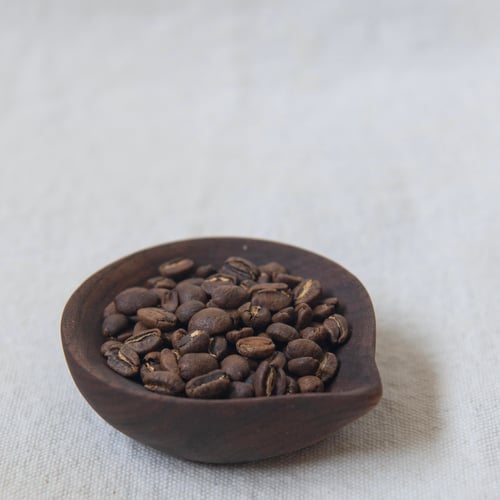
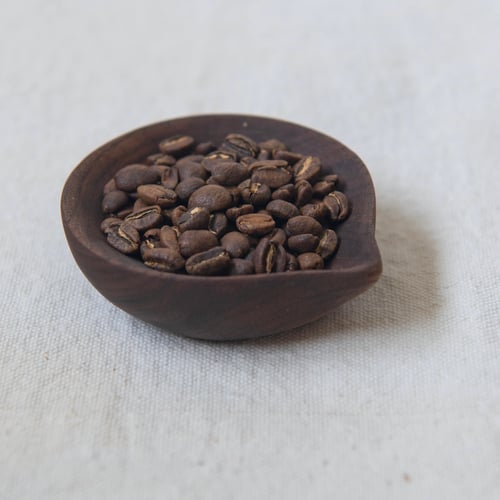
cf: {image: {gravity: {x:0.5, y:0.2}}}auto
Automatically sets the focal point by using a saliency algorithm to detect the most visually interesting pixels.
This is useful when you don't know the contents of the image ahead of time, such as with user-generated content. For large image libraries such as e-commerce product galleries, this feature eliminates the need to manually set a focal point for each image.
 |  |  |
| Original | Default crop |
|
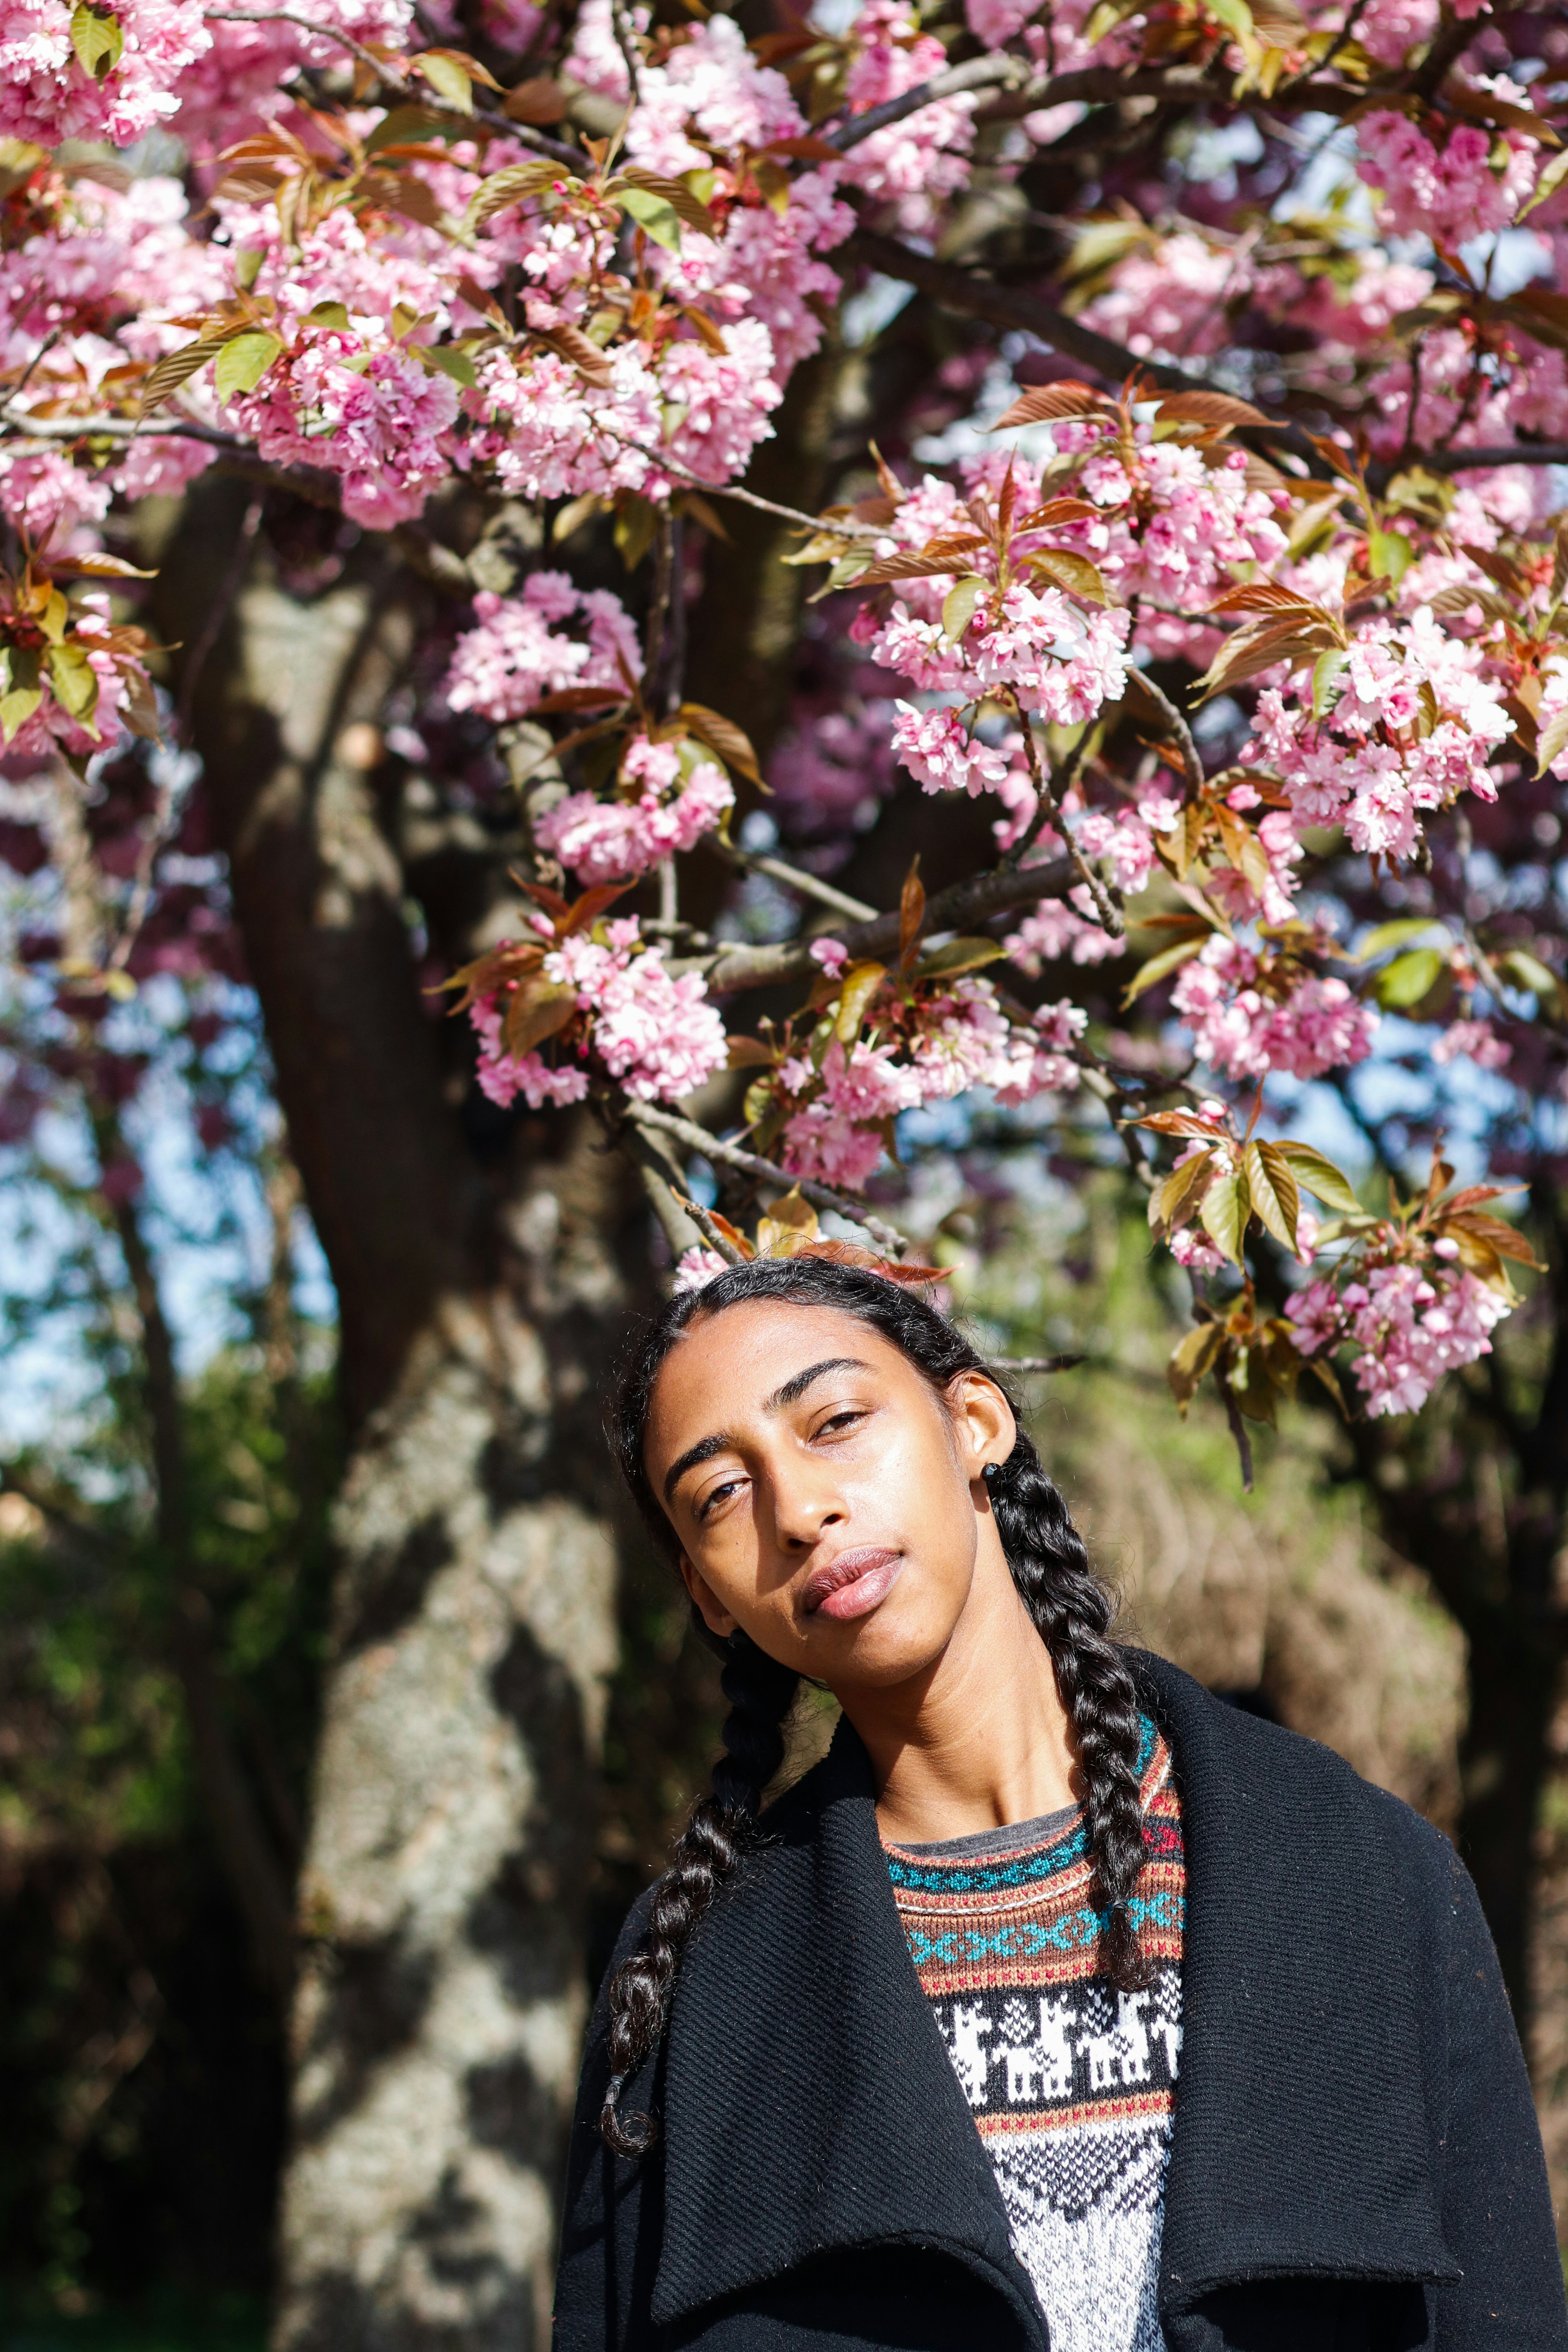
face
Automatically sets the focal point based on faces in the image.
This can be combined with the zoom parameter to specify how closely the image should be cropped toward the face.
 | 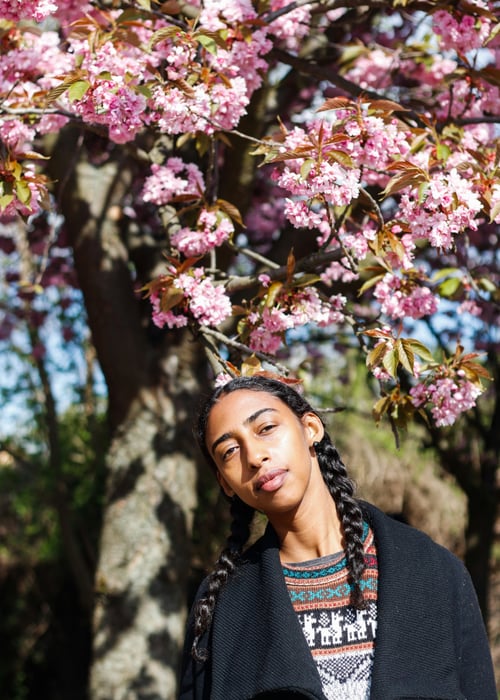 | 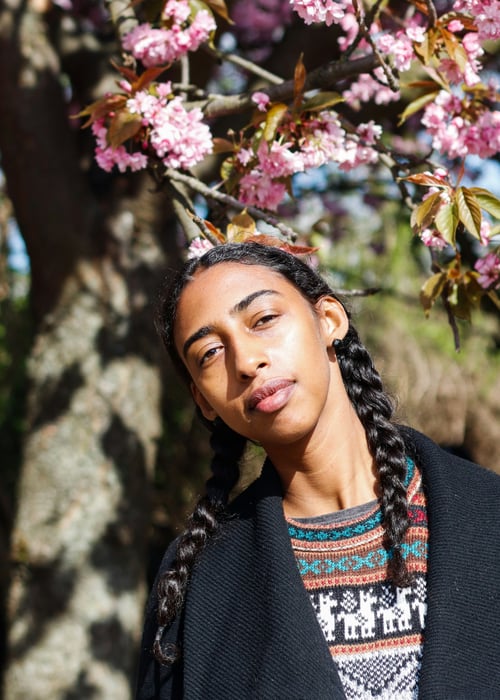 |
| Original | Default crop |
|
Photograph by Suad Kamardeen (@suadkamardeen) on Unsplash ↗
left, right, top, bottom
Sets the side of the image that should not be cropped.
In the example below, the 1080x720 image is cropped to a 1080x400 area, starting from its bottom edge:
| 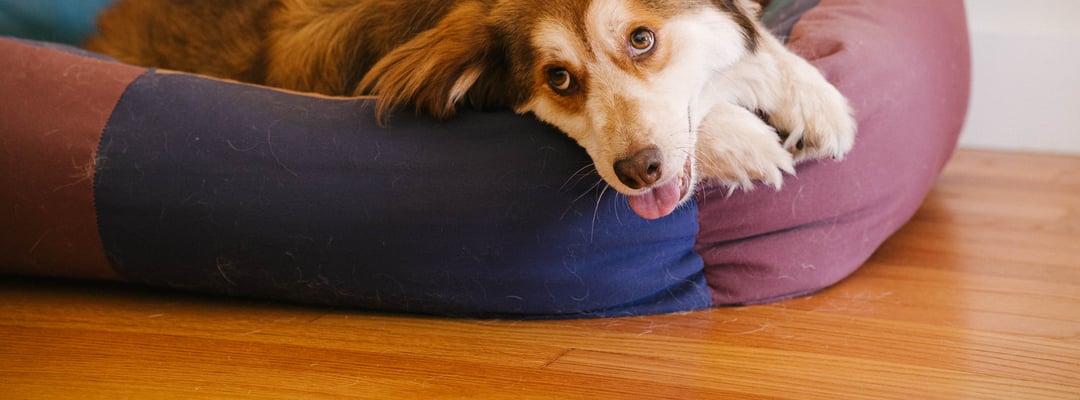 |
| Original |
|
XxY
Sets the focal point (X,Y) so that the relative coordinates of the output image are positioned at the relative coordinates of the original image. Accepts a coordinate pair formatted as XxY, where X and Y are decimal values between 0.0 and 1.0.

- Horizontal value (X) —
0.0is the left edge and1.0is the right edge of the image. - Vertical value (Y) —
0.0is the top edge and1.0is the bottom edge of the image.
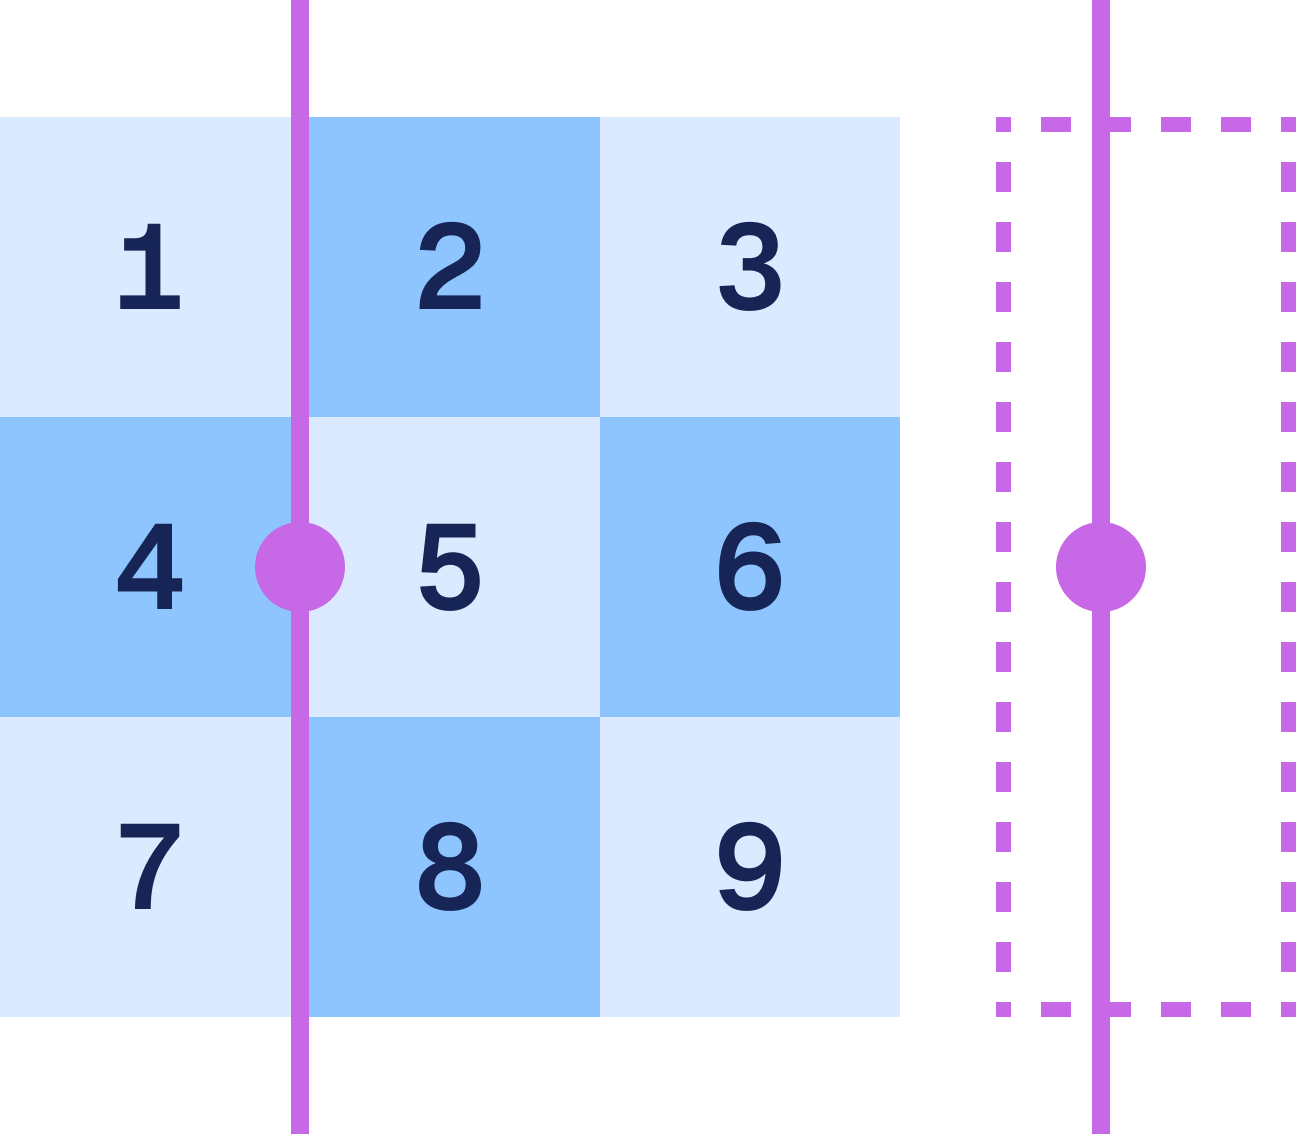
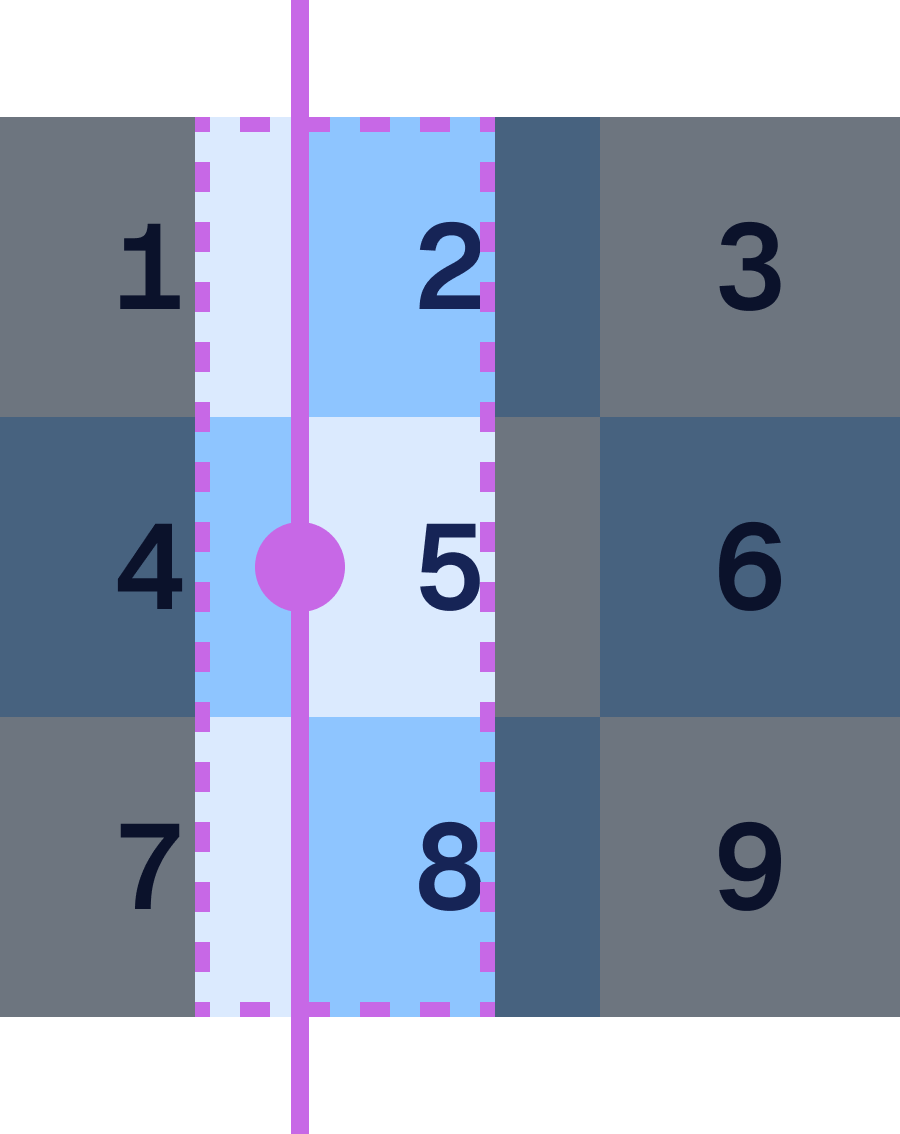
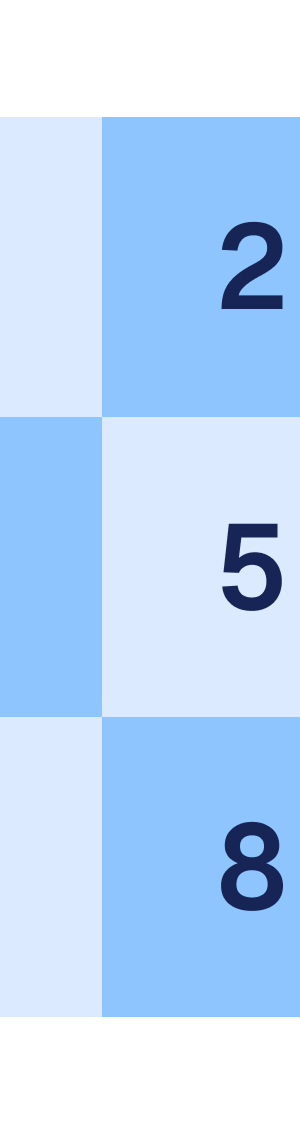
The example below crops a 900x900 image to 300x900 using a 0.33x0.5 gravity point:
- Both the original image and target area will have gravity points set at 1/3 of the width from the left edge and 1/2 of the height from the top edge.
- The relative coordinates of the output gravity point are positioned at the relative coordinates of the original image. That is, the target area is positioned so that its gravity point sits at the same relative position in the original image (0.33, 0.5).
- The darkened parts of the image show the area outside of the requested output, which will be cropped.
- The final cropped result captures the 300x900 content that is around the gravity point (0.33, 0.5).
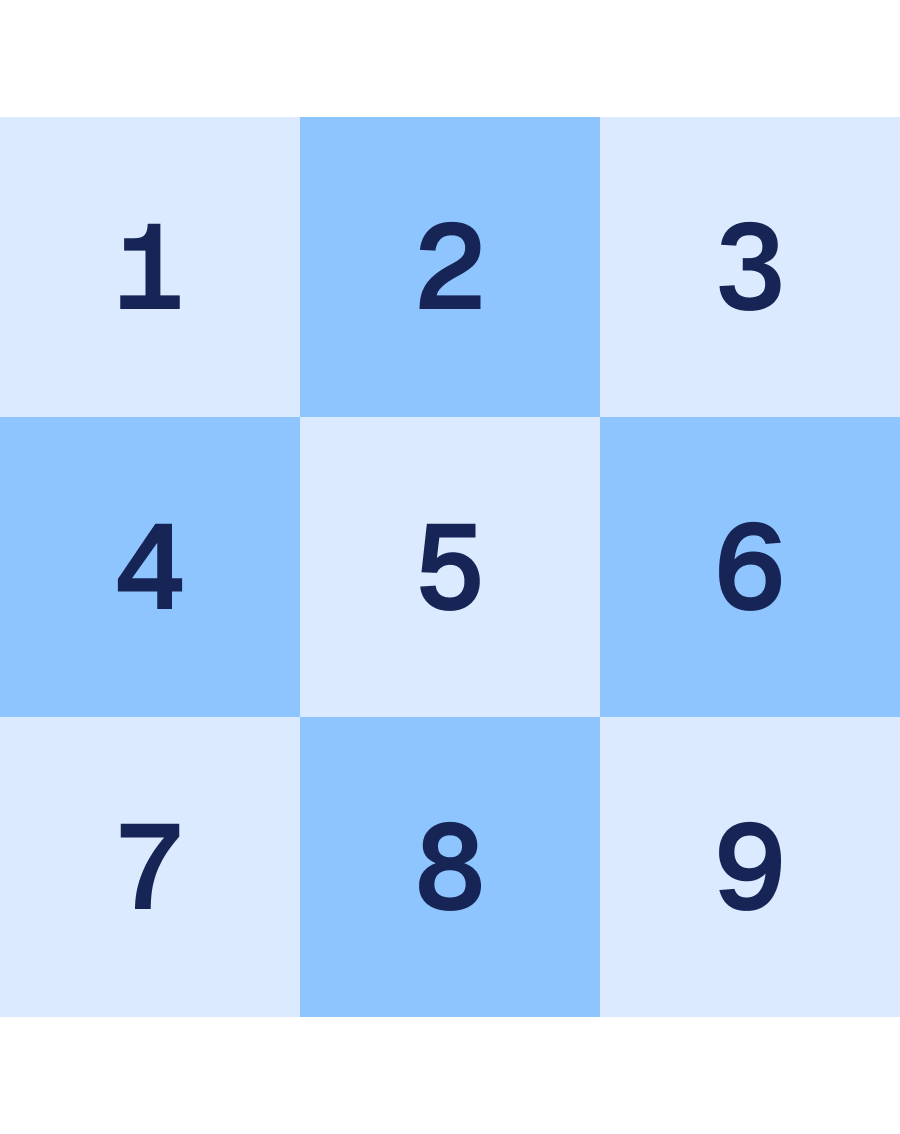 |  |  |  |
| Original | Align | Crop | Output |
When optimizing through Workers, use an object {x, y} to specify coordinates. For example, {fit: "cover", gravity: {x:0.5, y:0.2}} will crop each side to preserve as much as possible around a point at 20% of the height of the original image.
height | h
Sets the height of the output image in pixels using a positive integer value. By default, Cloudflare uses the original height of the input image.
When height is set, the exact behavior depends on the fit parameter.
height=250
h=250
cf: {image: {height: 250}}metadata
Controls the amount of invisible metadata (EXIF) that should be preserved for a JPEG image. For all other output formats (e.g. WebP or PNG), all metadata will always be discarded.
Color profiles and EXIF rotation are applied to the image even if the metadata is discarded.
Accepts the following values:
copyright(default) — Discards all metadata except EXIF copyright tag.keep— Preserves most of EXIF metadata, including GPS location, if present.none— Discards all invisible EXIF metadata.
metadata=nonecf: {image: {metadata: "none"}}onerror
Redirects the end-user to the URL of the original source image when a fatal error prevents the image from being transformed. Accepts redirect. The default is none.
This option works only if the image is in the same zone (subdomains are accepted). If the original image is from a different zone, then the option does not have any effect.
This may be useful in cases where an image requires user authentication and the image cannot be fetched anonymously via Workers. However, this option is not recommended if the source image is very large.
onerror=redirectquality | q
Specifies the output quality of an image for JPEG, WebP, and AVIF formats, expressed as a fixed value or perceptual quality level. The default is 85.
- Fixed quality — Accepts a positive integer from
1(low quality, small file size) to100(high quality, large file size). - Perceptual quality — Accepts
high,medium-high,medium-low, andlow.
When the output format is PNG, an explicit quality setting allows the use of PNG8 (palette) variant of the format.
quality=50
quality=low
q=50
cf: {image: {quality: 50}}
cf: {image: {quality: "high"}}rotate
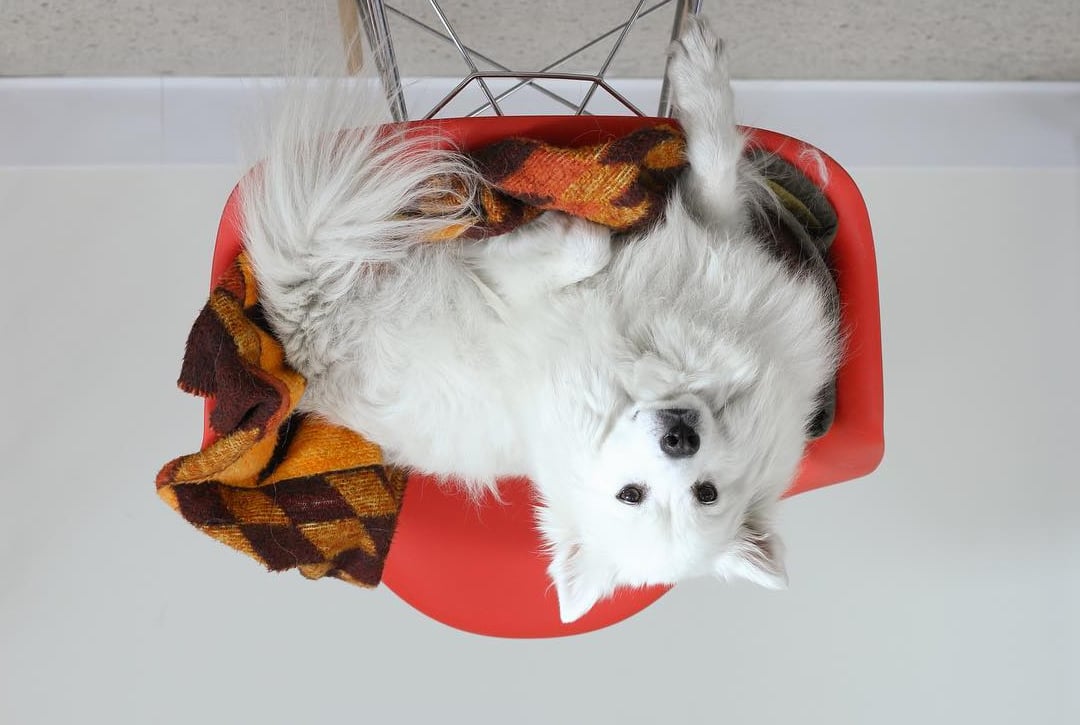
Rotates an image by a number of degrees. Accepts 90, 180, or 270. The default is 0 (no rotation).
Rotation is performed before resizing; width and height options will refer to the axes after the image is rotated.
|  |
| Original | rotate=180 |
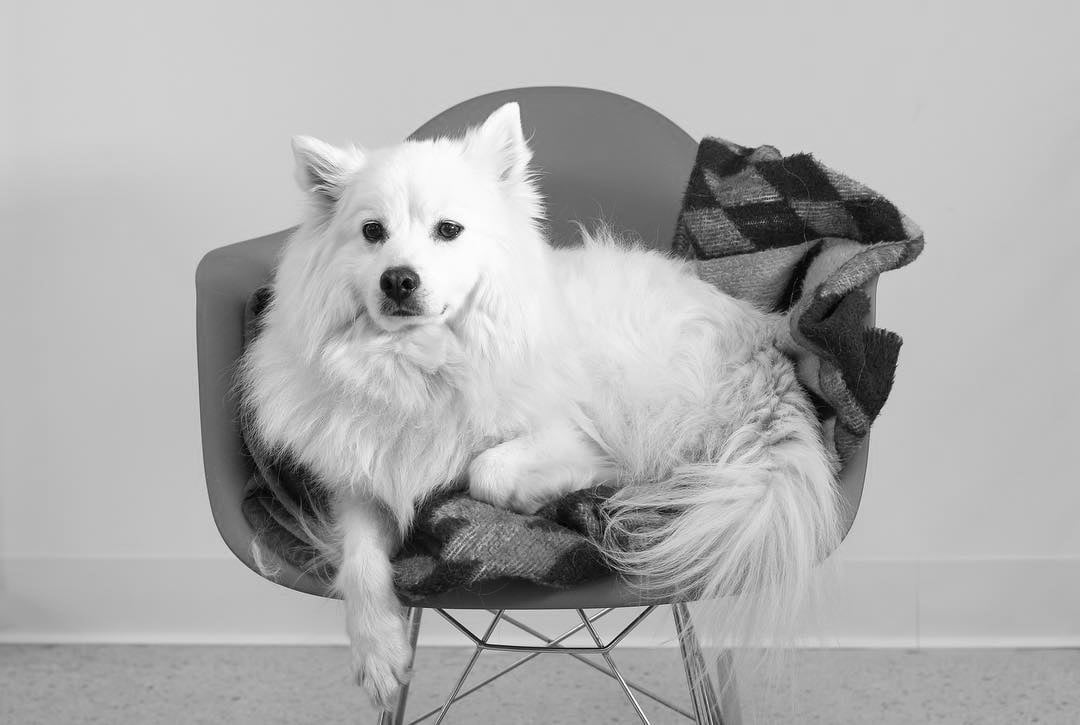
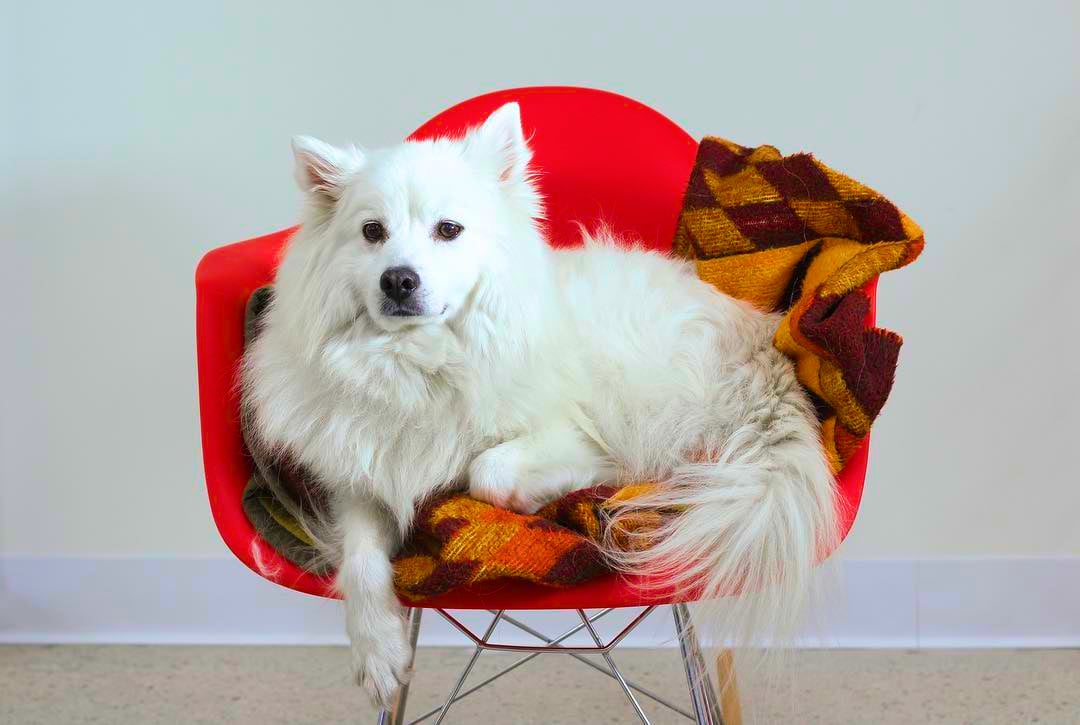
rotate=90cf: {image: {rotate: 90}}saturation
Adjusts the color saturation of an image using a multiplier.
0— Completely desaturates the image (grayscale).< 1.0— Reduces color intensity. For example,0.5is half as saturated.1(default) — No change to the original saturation.> 1.0— Increases color intensity. For example,2is twice as saturated.
|  |  |
| Original | saturation=0 | saturation=2 |
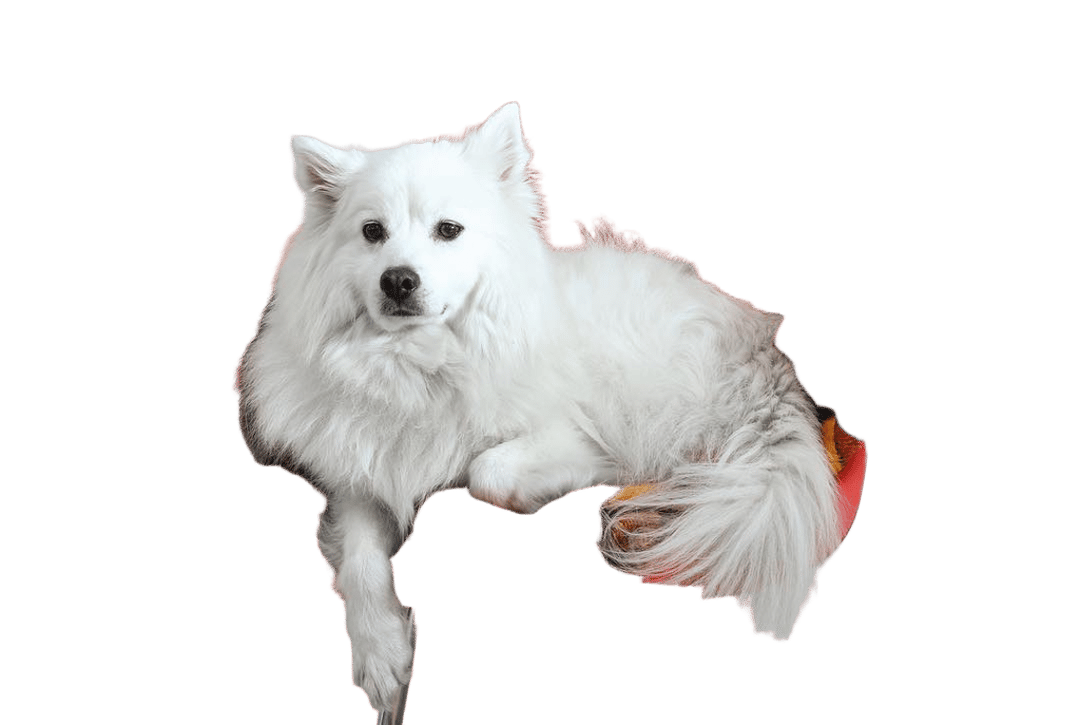
saturation=0.5cf: {image: {saturation: 0.5}}segment
Automatically isolates the subject of an image by replacing the background with transparent pixels. Accepts foreground. The default is none.
This feature uses an open-source model called BiRefNet through Workers AI. Read more about Cloudflare's approach to responsible AI ↗.
|  |
| Original | segment=foreground |
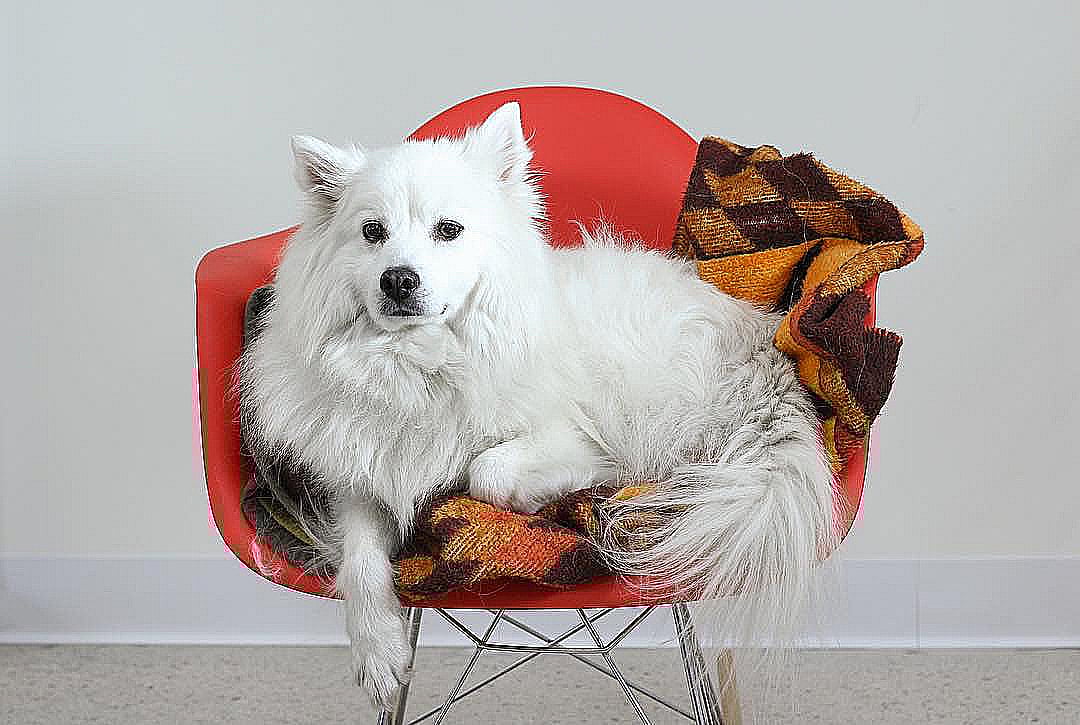
segment=foregroundcf: {image: {segment: "foreground"}}sharpen
Applies a sharpening filter to enhance edge definition in an image. Accepts a decimal value from 0 (no sharpening) to 10 (maximum sharpening). The default is 0. The recommended value for downscaled images is 1.
|  |
| Original | sharpen=5 |
sharpen=2cf: {image: {sharpen: 2}}slow-connection-quality | scq
Overrides the quality value whenever a slow connection is detected. Accepts the same fixed or perceptual settings as quality. The default is none.
To detect slow connections, enable any of the following client hints via HTTP in a header:
accept-ch: rtt, save-data, ect, downlinkslow-connection-quality applies when the client hint is present and any of the following conditions are met:
- rtt ↗: Greater than 150ms.
- save-data ↗: Value is "on".
- ect ↗: Value is one of
slow-2g|2g|3g. - downlink ↗: Less than 5Mbps.
slow-connection-quality=50
scq=50
trim
Removes pixels around the sides of an image.
This feature can be used to trim an image by its border colors or by a specified number of pixels from its side(s).
Trim takes into account the dpr parameter and is performed before resizing and rotation.
border
Automatically trims the sides of the image based on its border color.
The trim=border option can be further adjusted using the following parameters:
trim.border.color— Selects the border color to trim. Accepts any CSS color using CSS4 modern syntax. If omitted, the color is detected automatically.trim.border.tolerance— Sets how closely the detected pixels must match in color. Accepts an integer between0(doesn't need to match) and 255 (must match exactly).trim.border.keep— Specifies the number of pixels of the original border to leave untrimmed.
top;right;bottom;left
Specifies the number of pixels to remove from the sides of an image. Accepts four values, separated by a semicolon, to set the trim on all four sides of an image at once.
All trim values accept either an integer (pixel count) or a decimal between 0 and 1 representing a fraction of the image dimension. For example, 0.25 trims 25% from that side.
Trim can also be applied to a specific side using the following parameters:
trim.top— Removes pixels from the top of the image.trim.left— Removes pixels from the left of the image.trim.height— Sets the height of the image from the top edge, then trims everything below.trim.width— Sets the width of the image from the left edge, then trims everything to the right.
trim=border
trim.height=800
// This sets the height of the image to 800 pixels from the top of the image, then trims everything below that point

trim.left=800
// This removes 800 pixels from the left of the image

trim=0.1;0.2;0.1;0.2
// This trims 10% from the top and bottom, and 20% from the left and right

trim.top=0.25
// This trims 25% of the image height from the top
cf: {image: {trim: {top: 12, right: 78, bottom: 34, left: 56, width: 678, height: 678}}}
// Using decimals to trim 10% from each side:
cf: {image: {trim: {top: 0.1, right: 0.1, bottom: 0.1, left: 0.1}}}upscale
Controls the algorithm used when an image needs to be enlarged. This parameter works with any fit mode that upscales, such as contain, cover, and scale-up. It has no effect when fit=scale-down or when the target dimensions are smaller than the source.
Accepts the following values:
interpolate(default) — Uses bicubic interpolation, which may reduce image quality. This is the default behavior whenupscaleis not specified.generate— Uses AI upscaling (ESRGAN ↗) to produce sharper, more detailed results when enlarging images.
When upscale=generate is specified, the AI model runs a single pass at the nearest supported scale (2x or 4x), then adjusts to the exact target dimensions. Scale factors beyond 4x are handled with AI upscaling to 4x, then bicubic interpolation for the remainder.
upscale=generatecf: {image: {upscale: "generate"}}width | w
Sets the width of the output image in pixels using a positive integer value. By default, Cloudflare uses the original width of the input image.
When width is set, the exact behavior depends on the fit parameter.
Accepts the following values:
- A number in pixels (for example,
250). auto— Automatically serves the image in the most optimal width based on available information about the browser and device. Acceptswbreakpoints(client hints),wmobile(user-agent detection), andwdesktop(user-agent detection) as sub-parameters.
width=250
w=250
cf: {image: {width: 250}}width=auto sub-parameters
When width=auto is specified, Cloudflare resizes the image using information from client hints (sent by the browser) or by user-agent detection as a fallback.
You can customize the width=auto behavior with the following sub-parameters:
| Sub-parameter | Description | Default |
|---|---|---|
wbreakpoints |
Override default breakpoint widths, in pixels (client hints) | 320;768;960;1200 |
wmobile |
Override default width, in pixels, for mobile devices (user-agent detection) | 768 |
wdesktop |
Override default width, in pixels, for desktop devices (user-agent detection) | 1200 |
When optimizing remote images with width=auto, each unique width counts as a separate billable transformation.
To learn how width=auto works, refer to our guide on serving responsive images.
wbreakpoints=320;768;960;1920 // Changes the largest breakpoint to 1920 pixels
wbreakpoints=320;768;960;1200;1920 // Adds another breakpoint at 1920 pixels
cf: {image: {wbreakpoints: "320;768;960;1920"}}zoom | face-zoom
Specifies how closely the image is cropped toward detected faces when combined with the gravity=face option. Accepts a valid range between 0.0 (includes as much of the background as possible) and 1.0 (crops the image as closely to the face as possible). The default is 0.
zoom=0.1cf: {image: {zoom: 0.5}}Recommended image sizes
Ideally, image sizes should match the exact size that they are displayed on the page. If the page contains thumbnails with markup such as <img width="200" …>, then images should be resized to width=200.
To serve responsive images, you can use the HTML srcset attribute to let the provider pick the most optimal size. If you can't use the <img srcset> markup and have to hardcode specific maximum sizes, Cloudflare recommends the following sizes:
- Maximum of 1920 pixels for desktop browsers.
- Maximum of 960 pixels for tablets.
- Maximum of 640 pixels for mobile phones.
For example, fit=scale-down,width=1920 sets a maximum size of 1920px and ensures that the image will not be enlarged unnecessarily.
You can detect device type by enabling the CF-Device-Type header via Cache Rule.
Caching
When you optimize with Images, the original image will be fetched from the origin server and cached — following the usual rules of HTTP caching, Cache-Control header, etc.. Requests for multiple different image sizes are likely to reuse the cached original image without causing extra transfers from the origin server.
If Custom Cache Keys are used for the origin image, the origin image might not be cached and might result in more calls to the origin.
Optimized images follow the same caching rules as the original image they were resized from, except the minimum cache time is one hour. If you need images to be updated more frequently, add must-revalidate to the Cache-Control header. The Images service supports cache revalidation, so we recommend serving images with the Etag header. Refer to the Cache docs for more information.
Cloudflare does not support purging optimized images individually. URLs starting with /cdn-cgi/ cannot be purged. However, purging of the original image's URL will also purge all of its optimized versions.